Hair
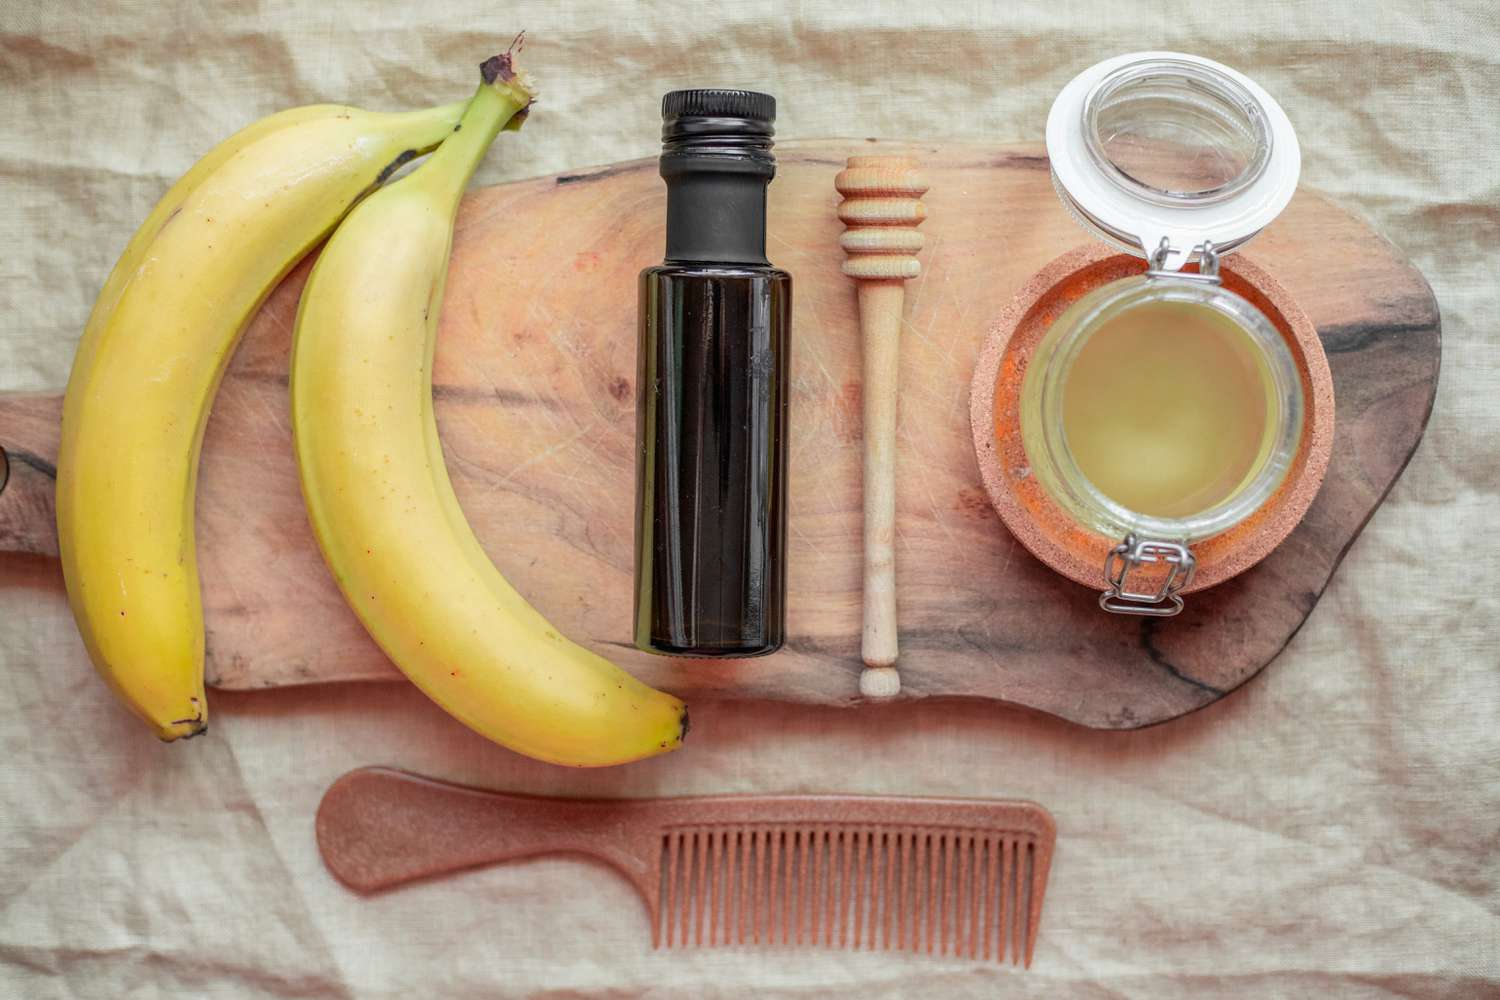
Best DIY Hair Masks for Damaged Hair
Hair
Christophe Robin regenerating hair mask with prickly pear seed oil
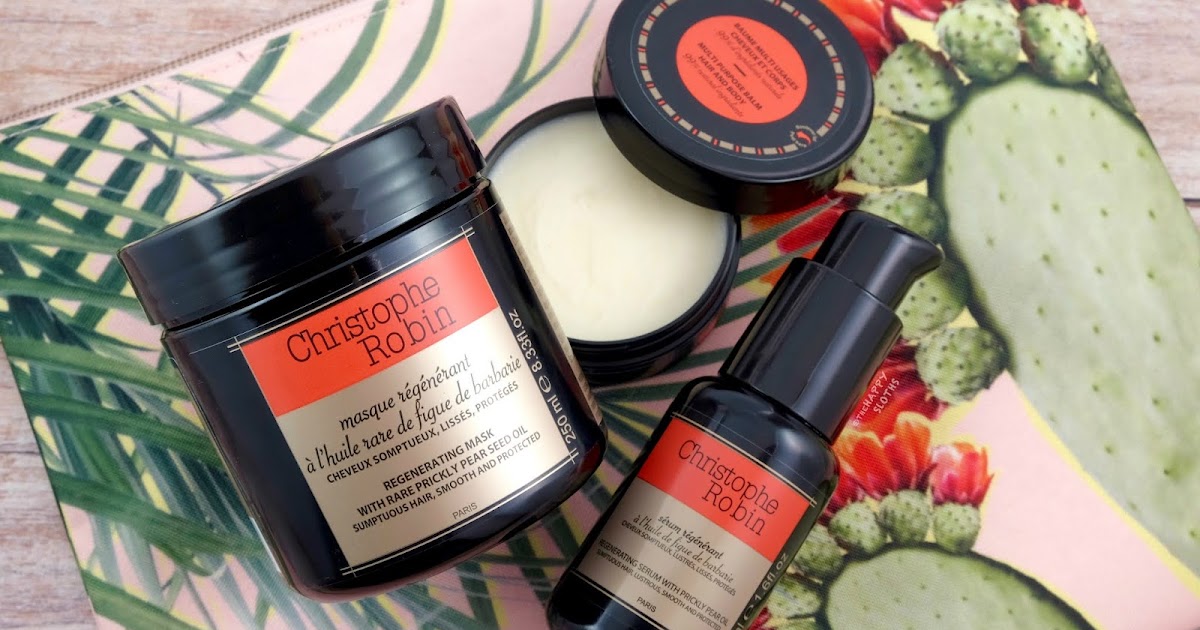
Christophe Robin has etched its name as a pioneer in the domain of elite hair care. Esteemed for its avant-garde formulations and indulgent components, this brand has reimagined the essence of hair nourishment. Among its prestigious collection stands the Christophe Robin Regenerating Hair Mask with Prickly Pear Seed Oil, a masterpiece crafted to rejuvenate and revive hair to its pristine allure.
Hair masks have become indispensable in the modern age, where environmental pollutants, excessive heat styling, and chemical treatments reign supreme. Let us delve into the distinctive qualities of this particular hair mask and how it can revolutionize your hair care regimen.
The Transformative Power of Hair Masks
Unlike conventional conditioners, hair masks offer a concentrated treatment that penetrates deep within the hair shaft, delivering:
- Profound Hydration: A boon for parched and fragile locks.
- Fortification: Reduces the likelihood of breakage and split ends.
- Revitalization: Breathes life into hair damaged by chemical processes or excessive heat.
Opting for a premium-grade mask like Christophe Robin’s can lead to remarkable improvements in both the vitality and aesthetics of your tresses.
The Enchantment of Prickly Pear Seed Oil
A Treasure Trove of Nutrients
Prickly Pear Seed Oil is a powerhouse of essential fatty acids, vitamin E, and potent antioxidants, which collectively:
- Reinforce hair structure from root to tip.
- Impart a natural, weightless radiance.
- Defend against oxidative damage inflicted by free radicals.
Anti-Aging and Moisturizing Virtues
This extraordinary oil combats dryness, a common precursor to frizz and dullness. Furthermore, its anti-aging properties ensure your mane remains lustrous and full of life.
Unveiling the Star Ingredients
The Crown Jewel: Prickly Pear Seed Oil
At the core of this formulation lies Prickly Pear Seed Oil, celebrated for its unmatched ability to hydrate and safeguard.
Complementary Ingredients
Augmenting this luxurious blend are plant-based ceramides and antioxidants, which:
- Bolster the hair’s innate protective barrier.
- Shield against external aggressors like pollution.
- Enhance elasticity and amplify shine.
Mastering the Art of Application
A Stepwise Guide
- Cleanse: Start with a gentle shampoo.
- Apply Generously: Smooth the mask evenly over damp hair.
- Let It Work: Allow the product to infuse for 5-10 minutes.
- Rinse Meticulously: Ensure no residue remains.
Pro Tips for Optimal Results
- Incorporate into your routine once or twice weekly.
- Pair with Christophe Robin shampoos and conditioners for synergistic benefits.
The Many Advantages of Christophe Robin’s Hair Mask
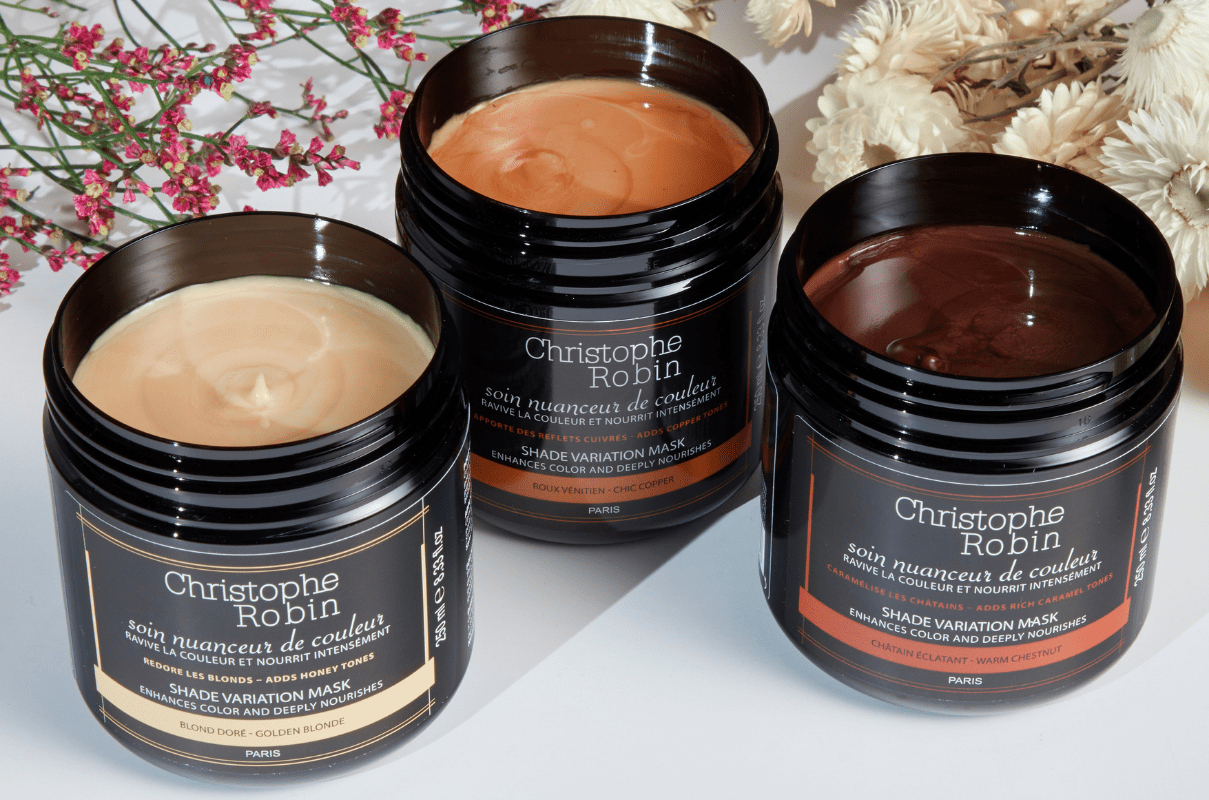
- Intense Hydration: Transforms dryness into silky softness.
- Damage Repair: Revitalizes strands affected by heat styling, coloring, or environmental stressors.
- Environmental Protection: Shields against UV rays and airborne pollutants, thanks to antioxidant-rich Prickly Pear Seed Oil.
Tailored for All Hair Types
This mask is a versatile remedy, catering to:
- Dry Hair: For unparalleled moisture infusion.
- Damaged Hair: A lifeline for over-processed locks.
- Color-Treated Hair: Safe and supportive for dyed tresses, preserving vibrancy.
Why Christophe Robin Outshines the Competition
Key Differentiators
- Exquisite, high-quality ingredients.
- Scientifically backed, visible transformations.
- Free from parabens, silicones, and harmful additives.
Enthusiastic Feedback
Countless users laud the mask’s transformative effects, noting a dramatic improvement in texture and overall health after a single use.
A Final Note on Luxurious Hair Care

The Christophe Robin Regenerating Hair Mask with Prickly Pear Seed Oil transcends the realm of ordinary treatments—it is an abundant experience that delivers transformative results. Whether your hair craves hydration, repair, or protection, this mask is an unparalleled choice for restoring its innate beauty.
Common Inquiries
How frequently should I use this mask?
Apply once or twice weekly, depending on your hair’s needs.
Is it color-safe?
Yes, it is designed to protect and enhance color-treated hair.
Will it weigh down fine hair?
No, its lightweight formulation ensures volume remains intact.
Does it contain harmful chemicals?
Not at all. It is free from parabens, silicones, and other harsh elements.
Where can I find this product?
Available on Christophe Robin’s official site and top-tier beauty retailers.
Can it be used with other Christophe Robin products?
Absolutely—complimentary use enhances results.
Hair
My Shark Air Wrap Curls 5 Minutes After Finishing
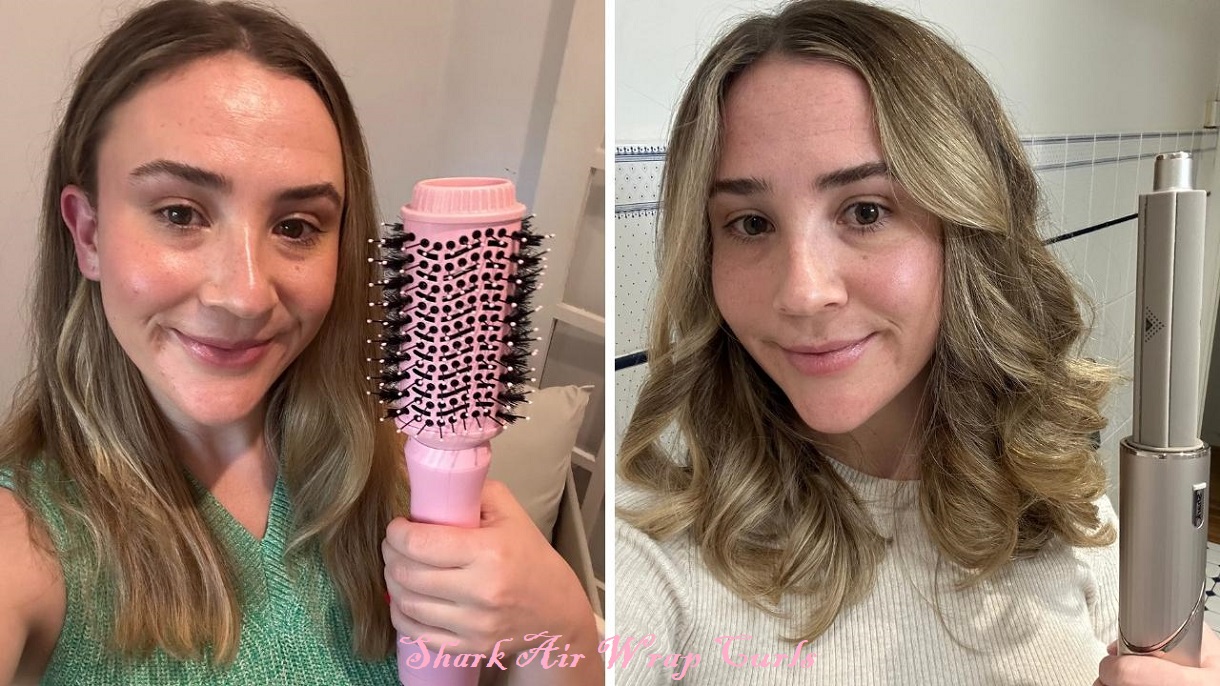
Attaining effortlessly sculpted, salon-grade curls has become a breeze thanks to the revolutionary Shark Air Wrap. Yet, what fate befalls those luxurious spirals mere moments after styling? Let’s unravel the intricacies of this game-changing device, exploring its mechanism, allure, and the polarizing sentiments it evokes among enthusiasts.
Decoding the Shark Air Wrap: A Technological Marvel
The Shark Air Wrap epitomizes innovation in hairstyling, seamlessly fusing state-of-the-art airflow engineering with precision heat modulation. Its primary ambition? To deliver artfully crafted curls, waves, or sleek tresses while minimizing thermal stress. Unlike conventional curling irons that depend exclusively on intense heat, this ingenious tool employs gentle air currents, safeguarding hair from undue harm.
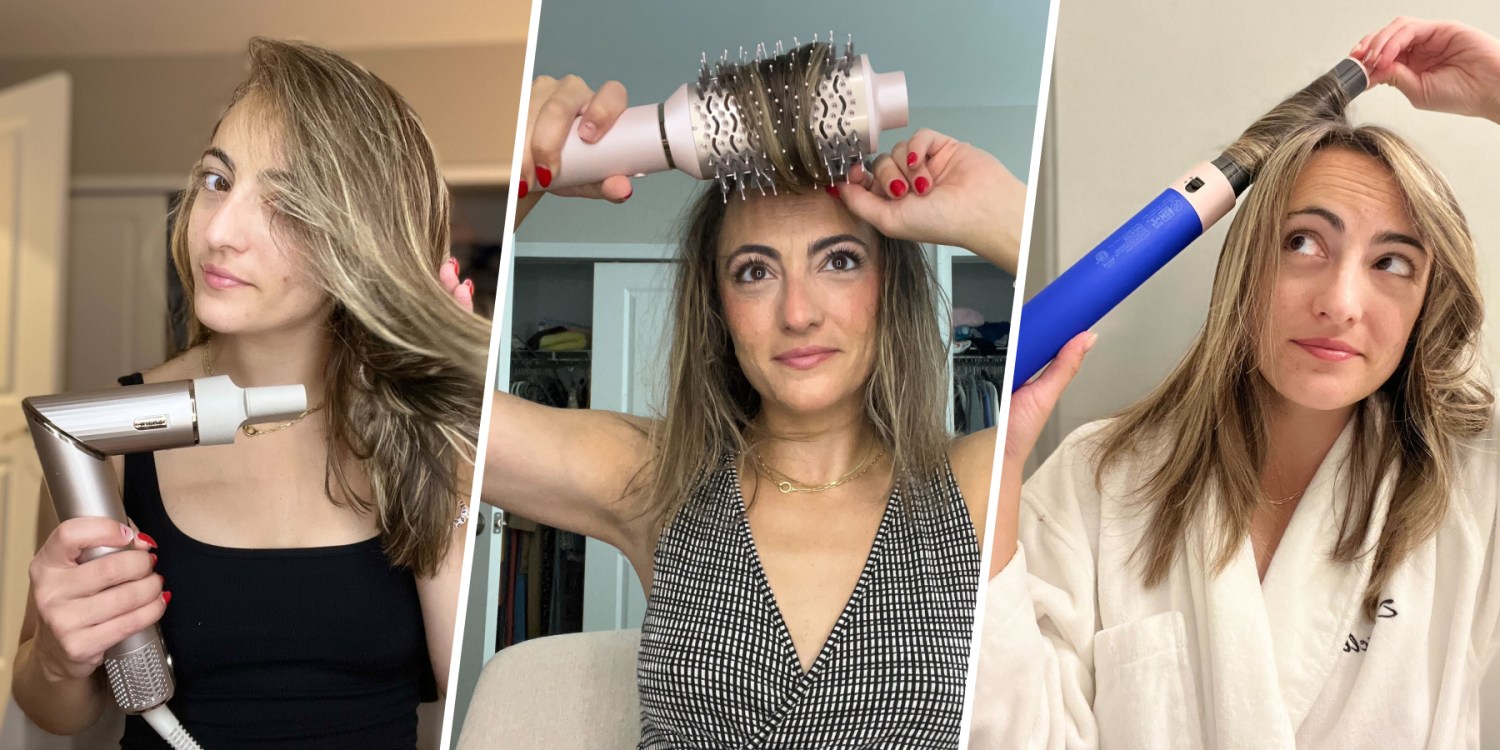
Why Embrace the Shark Air Wrap for Your Curling Needs?
Standout Features of the Shark Air Wrap
This avant-garde device redefines hairstyling by concurrently drying and shaping strands. Its meticulously designed attachments cater to diverse hair textures and styles, making it an accessible choice even for novices. Key attributes include:
- Thermal Regulation: Protects hair from excessive heat exposure.
- Automated Curling Mechanism: Reduces manual labor.
- Versatile Attachments: Accommodates various styling preferences.
Comparative Edge Over Conventional Curling Gadgets
Traditional curling instruments lean heavily on direct heat, posing long-term risks to hair vitality. The Shark Air Wrap, in contrast, champions hair wellness by leveraging airflow, offering a more benign alternative for habitual stylers.
Prime Preparations for Shark Air Wrap Styling
Optimal Product Selection
Choose lightweight, heat-shielding sprays and volumizing mousses to bolster protection and elevate your final look.
The Importance of Clean, Tangle-Free Hair
Commence with freshly cleansed and thoroughly detangled hair. Residual oils or knots can disrupt the styling process, leading to inconsistent results.

Mastering the Craft: Styling with the Shark Air Wrap
A Methodical Guide to Picture-Perfect Curls
- Divide hair into manageable sections.
- Attach the appropriate curling barrel.
- Wrap each strand around the barrel, allowing the device’s airflow to take charge.
- Hold briefly before releasing.
Common Pitfalls to Sidestep
- Employing unsuitable attachments for your hair type.
- Overloading the barrel with excessive hair.
- Skipping heat-protection products.
The Five-Minute Conundrum: Curl Durability Post-Styling
Understanding Curl Evolution
Within minutes, freshly styled curls may soften slightly, adopting a more natural aesthetic. Factors such as hair texture and ambient conditions play pivotal roles in this transformation.
Variables Influencing Curl Longevity
- Humidity levels.
- Hair’s porosity and texture.
- Quality of styling aids employed.
Extending the Life of Your Curls
Recommended Setting Products
Seal the curls with a featherweight, flexible-hold hairspray post-styling.
Best Practices for Maintenance
Refrain from touching or combing curls prematurely. Allow them to cool and solidify.

Troubleshooting: Resolving Common Hiccups
Addressing Limp Curls
Lackluster curls often result from insufficient heat or inadequately prepared hair. Ensure hair is damp—not overly saturated—before styling.
Preventing Overheating Issues
Overheating arises from improper usage. Always adhere to manufacturer guidelines for safe temperature management.
The Verdict: Real Insights from Shark Air Wrap Users
Victories Shared by Enthusiasts
Countless users celebrate the Shark Air Wrap for revolutionizing their hairstyling routine, praising its adaptability and ease of use.
Critiques and Room for Enhancement
While many laud its performance, some express concerns over curl longevity in humid settings. The remedy? Complement the device with premium styling products.
Final Reflection:
Delivering on its promise of diverse styling with minimal damage, the Shark Air Wrap stands as a worthy contender for any haircare repertoire. Though it necessitates a brief learning curve, its transformative results justify the investment.
Frequently Asked Questions
1. Can the Shark Air Wrap be utilized on all hair types?
Yes, though outcomes may vary depending on hair texture and porosity.
2. Is a heat protectant essential?
Absolutely—using one significantly mitigates potential heat-related damage.
3. Why do my curls lose shape rapidly?
Proper preparation and the use of quality setting products are key to lasting curls.
4. Is the Shark Air Wrap a prudent purchase?
For those who frequently style their hair, it offers substantial value.
5. Can it be employed on dry hair?
For optimal results, slightly damp hair is recommended.
6. What’s the device’s lifespan?
With diligent care, the Shark Air Wrap can serve you for several years.
Hair
Very cool Hair olors

Hair color transcends mere fashion; it serves as a bold proclamation of identity. Whether aiming to captivate attention or to subtly accentuate your innate allure, the right hue can revolutionize your appearance and invigorate your self-assurance. Recently, an array of cool-toned hair colors has surged in popularity, offering many opportunities for personal expression.
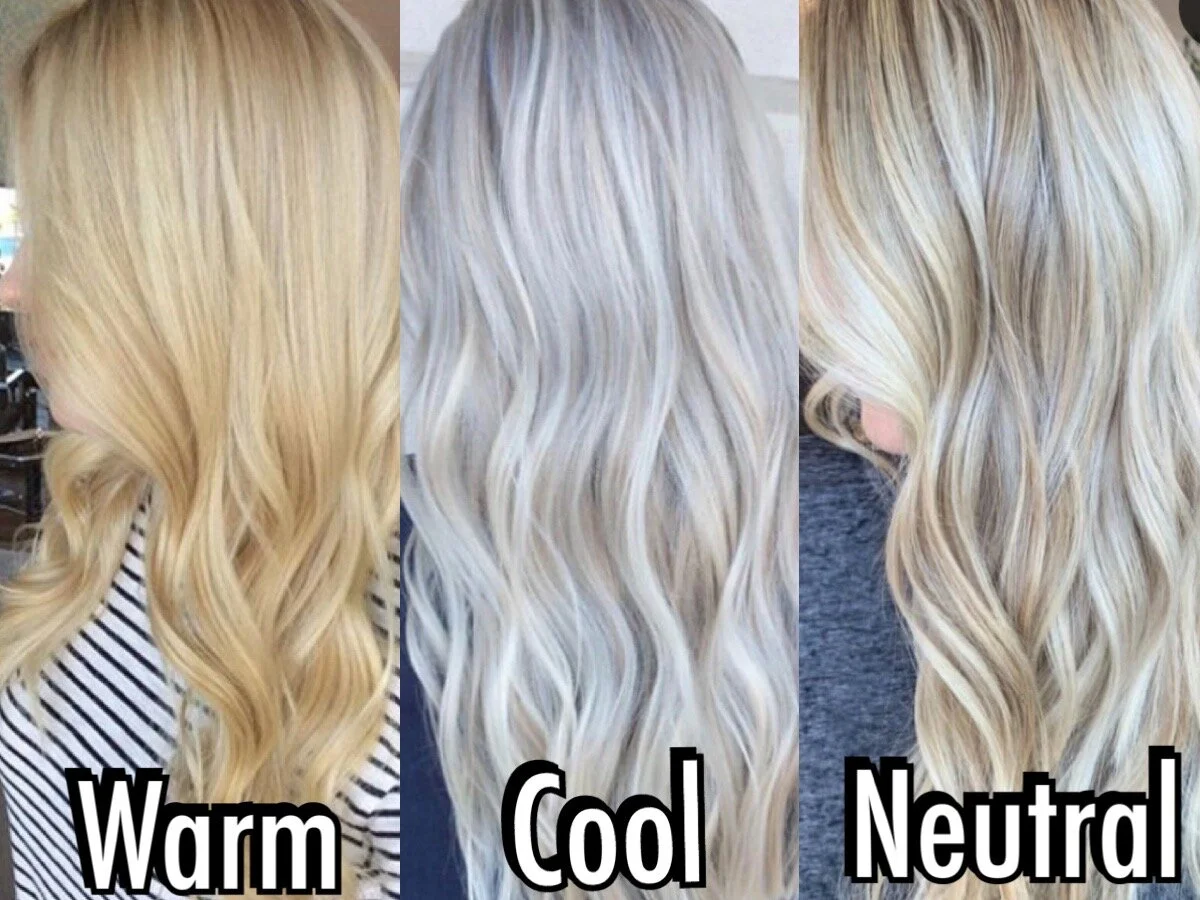
What Defines a Hair Color as “Cool”?
The Impact of Pop Culture
From the silver screen to the virtual sphere of social media, popular culture wields significant influence in dictating hair color trends. Signature looks pioneered by public figures often ignite widespread emulation, propelling audacious colors into the mainstream.
Self-Expression and Uniqueness
Cool-toned hair shades empower individuals to articulate their distinct personalities. Whether you lean toward whimsical, audacious, or refined, there’s a tint to encapsulate your essence.
The Most Coveted Cool Hair Colors of the Year
Soft Pastel Tones
Lavender Serenity
This ethereal lavender hue evokes tranquility and imaginative flair, offering a subtle yet captivating aesthetic.
Delicate Baby Blue
A tender blue shade provides a contemporary elegance that’s effortlessly soothing.
Bold and Radiant Tints
Inferno Red
A fiery crimson shade that commands attention and exudes a fierce sense of confidence.
Vivid Electric Blue
For those seeking a more daring style, this vibrant blue electrifies with its bold, edgy charm.
Classic Shades with a Modern Twist
Ashen Blonde Smoke
This sophisticated spin on traditional blonde introduces a cool, smoky undertone, aligning with contemporary aesthetics.
Rose Gold Splendor
Blending warmth with chic sophistication rose gold remains a versatile favorite for its universally flattering appeal.
Cool Hair Colors Tailored to Skin Tones
Fair Complexions
Icy Platinum Blonde
An almost frosty white hue harmonizes exquisitely with pale skin, creating a striking, luminous effect.
Medium Complexions
Lustrous Caramel Highlights
Rich caramel streaks impart warmth and texture, beautifully enhancing medium skin tones.
Deeper Complexions
Velvety Deep Burgundy
A sumptuous burgundy shade offers a refined contrast, amplifying the elegance of darker skin tones.
Seasonal Color Inspirations
Summer Splendor
Sunlit Golden Blonde
Radiant golden hues channel the sun’s brilliance, making them an ideal match for the summer season.
Winter Elegance
Chilling Silver Frost
This sleek silver-tone mirrors winter’s icy allure, delivering an understated yet striking sophistication.
Selecting the Ideal Cool Hair Color
Align with Your Persona
Choose a color that mirrors your individuality. Are you adventurous, or do you prefer a more understated flair?
Consider Your Lifestyle
Evaluate how much time you’re willing to dedicate to hair maintenance. Vibrant hues often demand frequent care.
Temporary or Permanent Choices
For novices, temporary dyes provide a no-commitment opportunity to explore various shades.
Preserving Hair Color Brilliance
Adopt Color-Protective Products
Use shampoos and conditioners specifically crafted for colored hair to maintain vibrancy.
Minimize Heat Usage
Excessive heat accelerates fading. Employ thermal protectants when heat styling is necessary.
Regular Touch-ups
Periodic maintenance is essential to keep your color looking fresh and vivid.
Should You Opt for DIY Hair Coloring?
Advantages of DIY
It’s budget-friendly and grants complete creative autonomy.
When to Seek Professional Expertise
For intricate shades or drastic transformations, professional stylists ensure optimal outcomes.
Cool Hair Colors for Men
Sophisticated Silver
Men can also embrace the distinguished allure of silver and grey tones.
Neon Highlights
Vibrant neon streaks can elevate any hairstyle for an energetic and playful touch.
Youthful Cool Hair Color Ideas
Fun and Vibrant
Bubblegum pinks and dynamic greens add a playful twist for younger audiences.
Soft and Subtle
Pastel highlights or temporary sprays offer a less dramatic yet stylish option.
Social Media Trends in Hair Color
Instagram-Worthy Hues
Instagram brims with inspiration, showcasing innovative and diverse hair color designs.
Trending TikTok Styles
TikTok frequently sets the bar with its audacious and avant-garde color trends.
The Future Horizon of Cool Hair Colors
Advances in Dye Technology
Innovative formulas are enhancing the safety and durability of hair dyes.
Eco-Conscious Coloring
Sustainable and environmentally friendly options are rising in favor, catering to the eco-aware populace.
Conclusion
Cool hair colors are more than fleeting trends; they’re a dynamic form of self-expression. With countless shades to explore, there’s a perfect match for everyone. Whether you opt for soft pastels, bold hues, or timeless classics, the right color is out there to transform your look and elevate your confidence.
FAQs
Which cool hair colors require minimal upkeep?
Smoky ash blonde and soft pastel hues like lavender typically demand less maintenance.
Is it possible to achieve cool tones without bleaching?
Yes, though the final result largely depends on your natural hair color.
How can I prolong my hair color’s vibrancy?
Utilize color-safe products, limit heat styling, and shield your hair from excessive sun exposure.
Are there professional-friendly cool hair colors?
Subdued tones like ash blonde or soft caramel highlights work well in professional environments.
How frequently should I schedule touch-ups?
Depending on the shade, touch-ups are generally recommended every 4-6 weeks.
-
 Skin10 months ago
Natural Oil-Free Face Moisturizer Reviews & Buyers Guide
-
 Hair2 months ago
Does a Flat Iron Kill Lice? Fact or Myth?
-
 Hair10 months ago
Does a Flat Iron Kill Lice? Fact or Myth?
-
 Skin9 months ago
About Face Beauty: Tips for Enhancing Your Natural Beauty
-

 Skin10 months ago
Neutrogena Naturals Multi-Vitamin Nourishing Face Moisturizer Review
-
 Hair10 months ago
Function of Beauty: Personalized Hair Care for Your Unique Needs
-
 Skin9 months ago
Beautiful Nails: Tips and Tricks for Healthy and Gorgeous Nails
-
 Hair10 months ago
Titanium Flat Iron vs. Ceramic


