Skin
How to Make Rosehip Oil Serum at Home
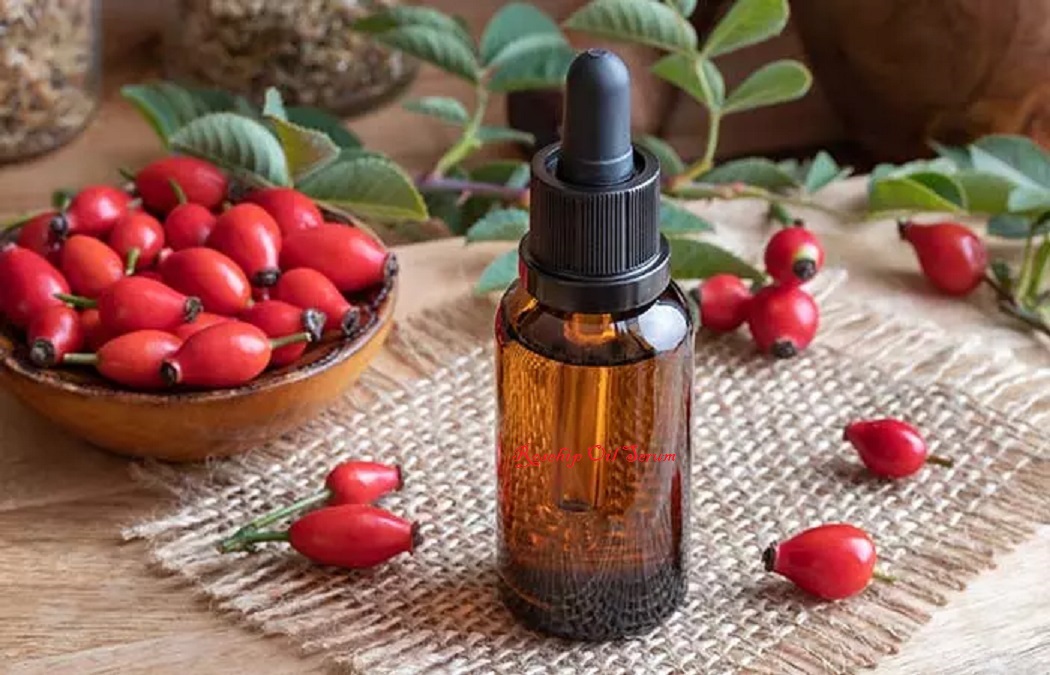


The adage “you are what you eat” holds a surprising veracity when considering the vitality and hue of your skin. While factors like heredity, lifestyle, and skincare regimens undeniably shape your dermal health, the food you consume wields its unique influence. Certain edibles can accentuate or subtly shift your natural complexion, lending it a luminous radiance or, conversely, prompting discoloration. But to what extent can nutrition modify skin pigmentation? Let’s delve into the scientific intricacies of this captivating connection.
Carotenoids: Nature’s Pigment Architects
Carotenoids, organic pigments residing in produce like carrots, spinach, sweet potatoes, and tomatoes, are responsible for their vivid yellow, orange, and red tones. Upon ingestion, these pigments are stored within the skin’s outermost layer, imbuing it with a sunlit, golden hue. This phenomenon, often termed “carotenoid-induced skin coloration,” exemplifies how diet directly interacts with dermal appearance.
Research substantiates that individuals who incorporate carotenoid-rich provisions into their meals often exhibit a healthier, more alluring skin tone. However, this effect is transient, dissipating once the consumption of such nutrient-dense foods declines.
Beta-Carotene and Its Surprising Effects
A prominent member of the carotenoid family, beta-carotene, is particularly adept at altering skin tone. Found in abundance in pumpkins, carrots, and yams, this compound can accumulate in the skin with excessive consumption, leading to a condition known as carotenemia. This temporary and benign state renders the skin a yellowish-orange tint, a striking testament to how dietary elements manifest visibly.

Hydration: The Unsung Hero of Skin Vitality
While water itself doesn’t transform pigmentation, it remains indispensable for preserving skin suppleness and averting dryness. Adequate hydration amplifies your skin’s natural brilliance, making it appear dewy and invigorated. In essence, water functions as a silent enhancer of your dermal luminosity.
Antioxidants: Guardians of Radiance
Foods imbued with antioxidants—like berries, green tea, and walnuts—fortify your skin by neutralizing harmful free radicals that damage cells and incite pigmentation irregularities. Regular consumption of these nutrient powerhouses fosters an even, radiant skin tone, underscoring the protective synergy between diet and dermal health.
Culinary Culprits Behind Discoloration
Not all dietary choices illuminate the skin. Certain foods detract from its vitality:
- Processed Sugars and Snacks: Excessive intake inflames the body, manifesting as redness, blemishes, and lackluster skin.
- High Sodium Content: Overindulgence in salt dehydrates the body, leaving the skin pallid and fatigued.
- Allergy-Inducing Foods: For some, food sensitivities can provoke rashes, discoloration, or uneven pigmentation.

Cultural Perspectives on Diet and Skin Brilliance
Across global cultures, dietary customs play an integral role in nurturing skin radiance.
- South Asia: Turmeric, revered for its anti-inflammatory prowess, is a culinary cornerstone for enhancing skin clarity.
- East Asia: Green tea is cherished for fostering an ethereal, even-toned complexion.
- Mediterranean Region: Olive oil and nuts, staples of this diet, are lauded for promoting glowing, youthful skin.
Can Food Permanently Transform Skin Tone?
Despite its temporary influence, food cannot permanently alter melanin levels—the pigment dictating your natural skin color. Genetic coding and sun exposure govern melanin production, limiting the extent to which diet alone can modify pigmentation.

Culinary Tips for Radiant Skin
For a diet that enhances skin health and luminosity, consider these recommendations:
- Vibrant Produce: Infuse your meals with fruits and vegetables brimming with carotenoids and antioxidants.
- Omega-Rich Fish: Fatty fish like salmon deliver essential lipids that hydrate and soothe skin.
- Vitamin E Sources: Nuts and seeds shield skin cells from oxidative stress.
- Whole Grains: Support dermal repair with nutrient-dense grains.
Conclusion:
While dietary choices cannot override genetics, they play an undeniable role in amplifying your skin’s texture, tone, and radiance. By mindfully selecting nutrient-rich foods, you can embrace a complexion that reflects health and vitality. Remember, the nourishment on your plate is mirrored in your skin—so let it glow with wholesome intention.
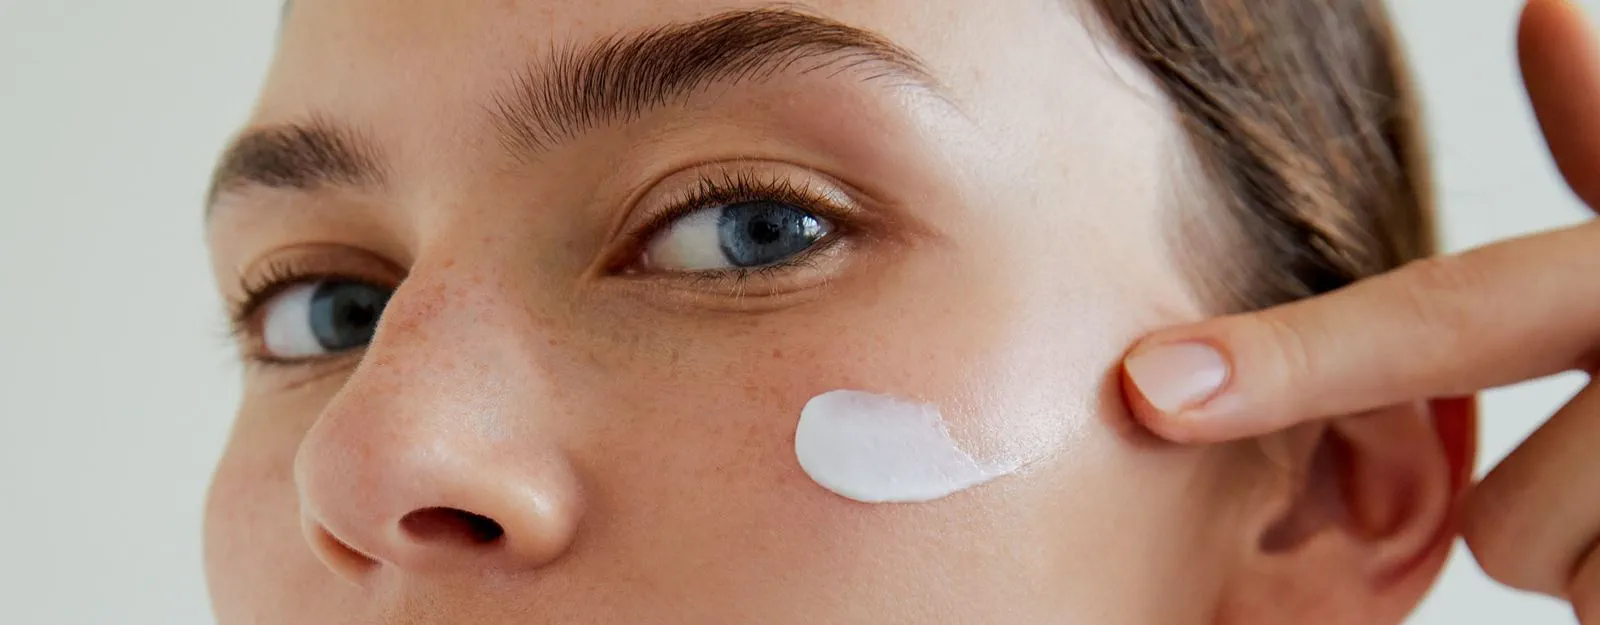
Table of Contents
Tips on Choosing the Right Moisturizer For Your Skin
Advantages of Using a Natural Face Moisturizer
1. These creams can help to reduce wrinkles:
2. Moisturizers are ideal for your skin:
3. The oils protect your skin:
4. The creams shrink enlarged pores:
5. The moisturizers down rashes:
What to Consider When Looking for Moisturizers for Rosacea
Best face wash and moisturizer for rosacea: Moisturizing your skin is a great way to protect your skin when treating rosacea. Some natural face moisturizers offer protection against environmental factors that exacerbate rosacea symptoms.
Before you settle on a moisturizer, read this review carefully, and always talk to your dermatologist.
- Avoid moisturizers that have too many fragrances. You should also avoid harsh cleansers, or any products that contain alcohol as they may contribute to rosacea outbreaks.
- Watch out for rosacea irritants found in different skin care products. They include alcohol, fragrance, Hazel, eucalyptus oil, peppermint and menthol. Other things you want to avoid include exfoliating agents, astringents and anything else that’s harsh for sensitive skin.
- Test any product on a peripheral area before you apply it on your skin. That will help you avoid any product that you react to and take note of the ingredients. Rosacea irritants vary from person to person, and your skin’s reaction should be your guide.
Mistakes to Avoid When Applying Moisturizers
Over-saturating your skin
Rubbing the skin too hard
Not allowing the cream to sink in
Forgetting the area under the eyes
Forgetting the neck area
What you Should Know Before Using Moisturizer for Rosacea
1. Premature wrinkles:
2. Your complexion may be dull and flaky:
3. Your layer of protection may become lost:
4. Your skin may become itchy:
Read the Label
Sensitive skin
Bland moisturizers
Best face wash and moisturizer for rosacea: These moisturizers are free from harsh ingredients that irritate the skin. You want to avoid anything that can trigger a flare-up. Avoid using moisturizers that have redundant components. The best products alleviate your skin’s dryness. Avoid moisturizers with alcohol, fragrances and related additives.
Avoid acne treatment products
Regardless of whether your rosacea is accompanied with pimples, it is not advisable to use moisturizers formulated for treating acne. They have ingredients such as benzoyl peroxide and salicylic acid that can dry your skin. Consult a dermatologist for the best way to treat acne while dealing with rosacea.
Calming ingredients
Try using moisturizers that have a calming effect on your skin to reduce the symptoms of rosacea. Chamomile, aloe and green tea are natural products that have a soothing effect. That will help to lessen the redness and inflammation you could be experiencing.
Sunscreen
Exposure to the sun is a known trigger for rosacea flare ups. Choose a moisturizer with an SPF 15 protection or higher or stay covered!
5 of the Best Moisturizers for Relieving Rosacea Reviewed
1. Miravage Facial Redness and Rosacea Relief Cream & Anti-Aging Moisturizer Serum
PROS
- You can wear it under your makeup
- Offers anti-aging benefits
- There is no greasy feeling
- Quickly absorbed into your skin
CONS
- Has a light scent that lingers
2. Era Organics Face Cream
PROS
- 60-day money back guarantee
- Non-greasy formula
- Has anti-aging properties
CONS
- Can be a bit expensive
3. Aveeno Eczema Therapy Moisturizing Cream
PROS
- Recommended by dermatologists
- Fast acting formula that hydrates and soothes
- Steroid and fragrance free
- Reasonably priced
- Great packaging for easy use
CONS
- Relatively thick formula feels heavy during application
4. HoneySkin Organics Aloe Vera Ultimate Face and Body Cream
PROS
- Organic product
- Doesn’t have fillers like mineral oils, parabens or water
- Light non-greasy formula
- No fragrance
CONS
- A little bit costly
- Few people are allergic to some ingredients
5. La Roche-Posay Soothing Moisturizer
PROS
- Fragrance free
- Reduces chances of skin dryness
- Easy to apply light texture
CONS
- It is relatively expensive
Conclusion
Dermatologists still have a long way to go about rosacea. Scientists are still learning what its real causes are and the best way to treat it. While there may be some genetic factors, the environment has a big contribution as well. There are different underlying factors causing rosacea. People battling it should make choices that eliminate the risk of outbreaks. Take note that your diet can trigger rosacea flare-ups. You want to avoid spicy foods, hot foods and drinks, and alcoholic beverages. But a moisturizer designed for those suffering from rosacea can help for some. As per the review, the Honeyskin Face & Body Cream stands out to me as the best moisturizer for rosacea here. Just remember that everyone’s skin reacts differently. Trial & error and speaking to your dermatologist are a couple of ways you can figure out which cream will work for your skin.
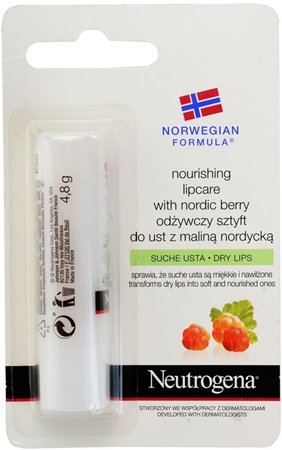
For those who prize meticulous lip care, the Neutrogena Nordic Berry Lip Balm emerges as a singular gem. Revered for its remarkable capacity to nurture, rejuvenate, and shield lips from the merciless grip of environmental extremities, this balm epitomizes the harmony of scientific innovation and nature’s bounty. Drawing inspiration from the nutrient-laden Nordic berry, it offers an exquisite confluence of advanced dermatological craftsmanship and organically sourced constituents. Below, we explore why this product claims a venerated spot among lip care connoisseurs globally.

Why Neutrogena Nordic Berry Lip Balm Stands Apart
This isn’t just another run-of-the-mill lip balm—it’s an intricate symphony of potent natural extracts and cutting-edge dermatological precision. Key attributes include:
- Infusion of Nordic Berry Extracts: These berries, abundant in antioxidants and vital nutrients, neutralize free radicals and infuse lips with deep hydration.
- Dermatologist-Endorsed Integrity: Clinically validated for its mildness, this balm suits even the most delicate lips.
- Enduring Moisturization: In contrast to the fleeting hydration offered by many alternatives, this balm ensures extended softness and resilience.
Dissecting the Key Ingredients
Nordic Berry Extract
As the core essence of this formulation, Nordic berry extract delivers unparalleled skin-enhancing benefits. Rich in vitamins C and E, it fortifies against environmental adversities while restoring suppleness.
Glycerin
Esteemed as a humectant, glycerin magnetizes moisture, safeguarding lips against aridity.
Panthenol (Pro-Vitamin B5)
Renowned for its reparative prowess, panthenol alleviates discomfort caused by cracked or inflamed lips, promoting swift recovery.
Shea Butter
This natural emollient cocoons the lips in a barrier of hydration, thwarting damage from icy winds and relentless heat.

Advantages of Using Neutrogena Nordic Berry Lip Balm
- Profound Moisture
This balm obliterates dryness, leaving lips velvety smooth. Its humectant-emollient blend delivers moisture unparalleled in longevity. - Defensive Antioxidants
Empowered by Nordic berry extract, the balm shields lips from oxidative stress, protecting against UV rays and pollution. - Extended Wear Time
Unlike its peers, this balm minimizes the need for frequent applications, offering sustained comfort throughout the day. - Luxurious Texture and Subtle Scent
Its silken consistency glides effortlessly across lips, while the faint aroma of Nordic berries provides a delightful sensory experience. - Adaptability Across Seasons
From frosty winters to sweltering summers, this balm is indispensable for year-round lip care.
Optimal Usage for Maximum Benefit
To harness the full potential of Neutrogena Nordic Berry Lip Balm, consider the following regimen:
- Gentle Exfoliation: Slough away dead skin cells with a mild lip scrub.
- Generous Application: Evenly coat your lips for comprehensive hydration.
- Reapplication Protocol: While its longevity is noteworthy, reapply after meals or exposure to severe conditions.
- Pairing with Lip Masks: For intense care, combine it with an overnight lip treatment.

A Comparative Glance
Positioned ahead of its competitors, Neutrogena Nordic Berry Lip Balm prioritizes the root causes of lip distress. Unlike generic alternatives offering superficial relief, this balm provides enduring solutions through its innovative blend of natural antioxidants and hydrating agents.
What Distinguishes It:
- Pure Ingredients: Free from irritants like parabens and synthetic fragrances.
- Expert Recommendations: Favored by dermatologists for its hypoallergenic attributes.
- Affordable Luxury: Top-tier efficacy without an exorbitant price.
Dermatological Advocacy
Esteemed by skin experts, Neutrogena Nordic Berry Lip Balm consistently proves its mettle. Its hypoallergenic composition and reparative properties make it suitable for all age groups, including children, ensuring lips remain protected and resilient.
The Ideal Candidate for This Balm
This balm caters to a wide audience:
- Chronic Dryness: An elixir for persistently parched lips.
- Extreme Climates: A fortress against severe cold, wind, and UV exposure.
- Sensitive Individuals: Free from harsh chemicals, ensuring compatibility with delicate skin.
Glowing Testimonials
Enthusiastic users worldwide laud this balm’s transformative effects:
- “No lip balm has ever worked as effectively! My lips feel rejuvenated all day.” – Sarah M.
- “The fruity scent and long-lasting hydration make this a staple for me.” – James K.
- “Winters used to wreak havoc on my lips—this balm changed everything.” – Emily R.
Accessibility
Conveniently available, Neutrogena Nordic Berry Lip Balm can be procured through:
- The official Neutrogena website.
- Major platforms like Amazon.
- Retail giants such as Walmart and Target.
- Pharmacies including CVS and Walgreens.
Closing Thoughts
Neutrogena Nordic Berry Lip Balm transcends ordinary lip care to deliver an unparalleled experience. Blending the nourishing essence of Nordic berries with dermatologist-approved science, it offers year-round hydration, protection, and repair. For anyone seeking soft, healthy lips, this balm stands unrivaled in its category.
-
 Skin10 months ago
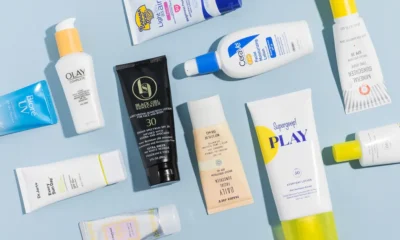
Natural Oil-Free Face Moisturizer Reviews & Buyers Guide
-
 Hair2 months ago
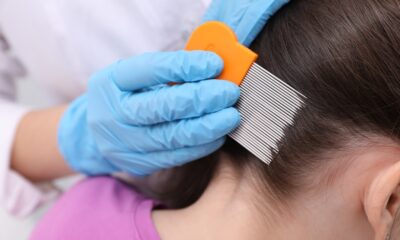
Does a Flat Iron Kill Lice? Fact or Myth?
-

 Hair10 months ago
Does a Flat Iron Kill Lice? Fact or Myth?
-

 Skin9 months ago
About Face Beauty: Tips for Enhancing Your Natural Beauty
-

 Skin10 months ago
Neutrogena Naturals Multi-Vitamin Nourishing Face Moisturizer Review
-
 Hair10 months ago
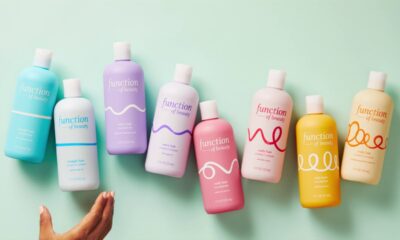
Function of Beauty: Personalized Hair Care for Your Unique Needs
-

 Skin9 months ago
Beautiful Nails: Tips and Tricks for Healthy and Gorgeous Nails
-
 Hair10 months ago
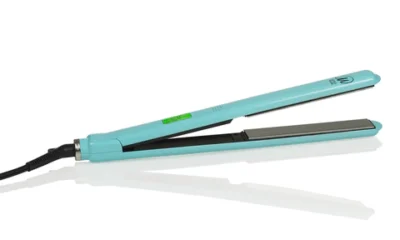
Titanium Flat Iron vs. Ceramic