Hair
Searching for the Best Hair Straighteners: Buyers Guide
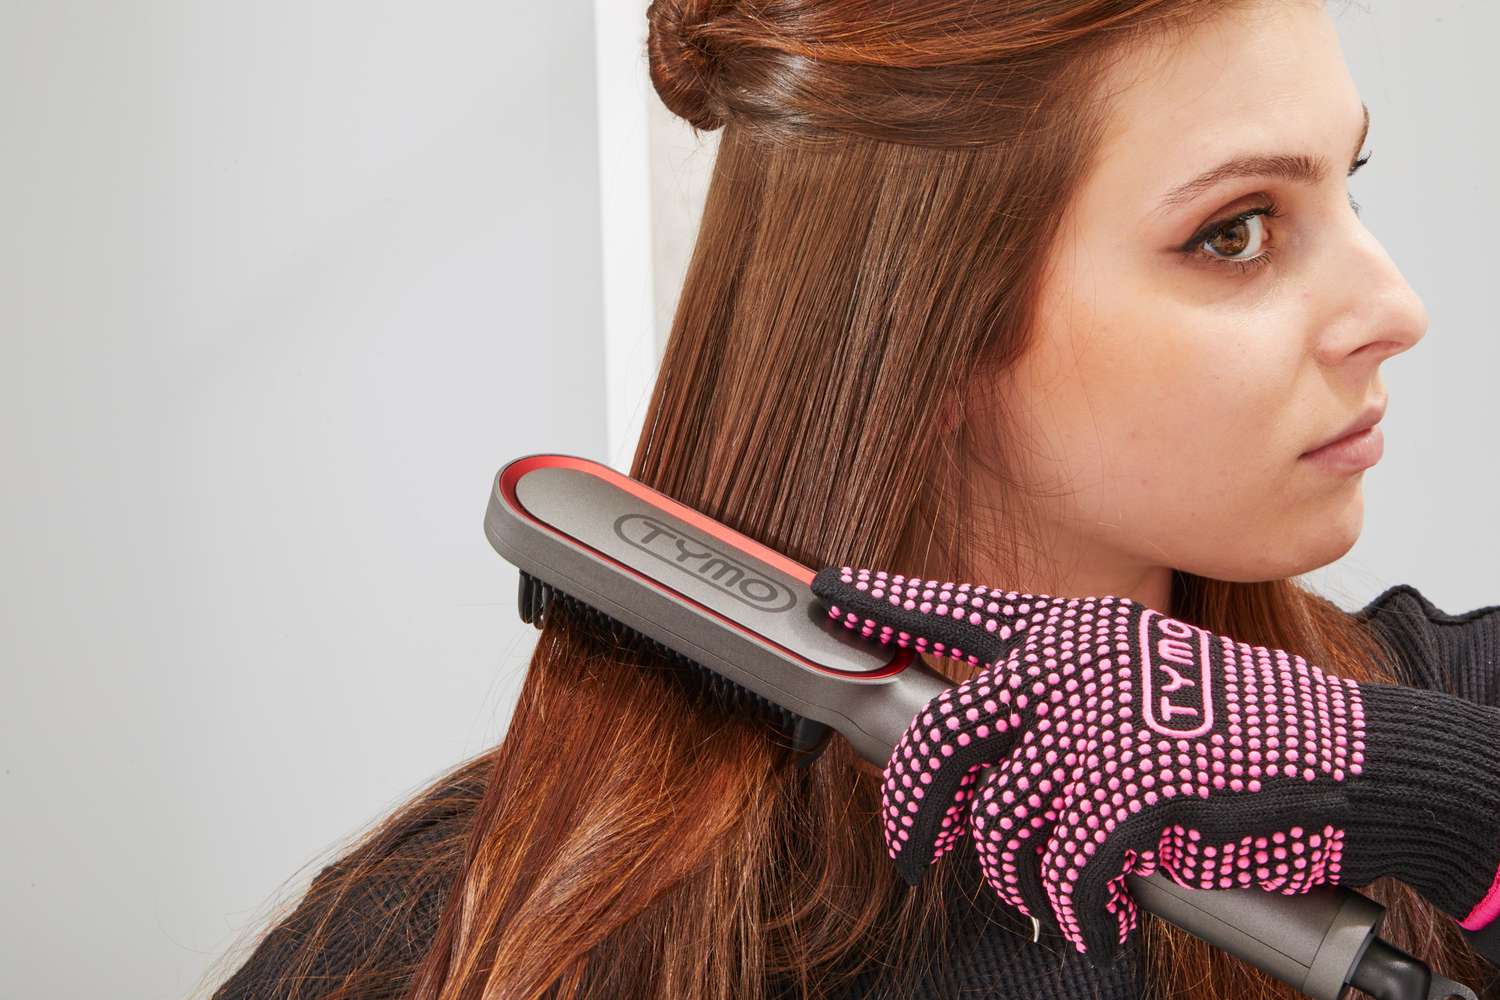
How does a hair straightener work?
HOW DO I WORK THIS THING?
Simple Steps to Flat Iron Your Hair
Pros and Cons of a Hair Straightener
PROS
- Frizz reduction – Uses heat technology to smooth out frizzy hair and add shine. Looks and feels great. Can eliminate static.
- A quick way to straighten and/or style hair – Most straightening devices heat up very quickly and evenly.
- Hair straighteners are not only for straightening – Many different styles can be achieved in a short time such as crimping and curling. They also work great on bangs.
- Affordable alternative to going to a hair salon – Wide price range.
CONS
- Flat irons are not a permanent solution to straightening curly or wavy hair – Like using a curling iron, the style only lasts temporarily.
- Repeated use can cause hair to become dry and damaged – It’s best used in moderation. However, the better quality the hair straightener is, the less damage will be done.
Buying Guide
Plate Material: Ceramic vs. Tourmaline vs. Titanium
What is the best flat iron for your hair type?
Plate Size:
Temperature Settings:
Thin hair = lower temperatures. Thick hair = higher temperatures.
Thick hair should be able to handle temperatures above 360 degrees Fahrenheit. For thin or normal hair, the ideal temperature setting is up to 360 degrees Fahrenheit. If it is very fragile and thin, it is safest to stay below 250 degrees Fahrenheit. This of course can be adjusted to your preference once you have experience, but it is best to follow the recommended temperatures.
Top 5 Flat Iron Reviews
1. ISA Professional Victorya Flat Iron Hair Straightener Tourmaline Ceramic Plates
- Suitable for both right-handed and left-handed users
- Ergonomic design
- Has a 360 degree swivel cord
- Universal Voltage
- Does not have automatic shut-off
- If you like to control the temperature of your hair straightener, you may not like the Smart Temperature Technology
My #1 Pick for Best Rated Flat Iron!
- Comes in a designer gift box
- Best professional flat iron warranty out of my top 5
- You can also use it to style your hair with curls, waves, etc.
- Dual Voltage
- Does not have auto shut-off
- Temperature dial is slightly difficult to read
3. HD Professional 1.25″ Advanced Ionic Tourmaline Hybrid Flattening Iron
- 360° swivel cord
- Auto shut-off feature
- Suitable for all hair types
- Pricier than other flat irons
- The wider plates make it a bit more difficult for short hair
- Does not have Universal Voltage
4. CHI PRO G2 Digital Titanium Infused Ceramic Flat Iron
Green = 370 degrees for fine hair
Blue = 395 degrees for medium and wavy hair
Red = 425 degrees for coarse hair
- 40 second heat up time
- Comes with a heat-resistant wrap
- Plates have curved edges to glide through hair with ease
- Dual Voltage
- No auto shut-off
5. HSI Professional Ceramic Tourmaline Ionic Flat Iron
- Easy to use
- High quality
- Dual Voltage
- No auto shut-off
CONCLUSION
Hair
Egg and Olive Oil Mask: A Resurgence in Hair Rejuvenation
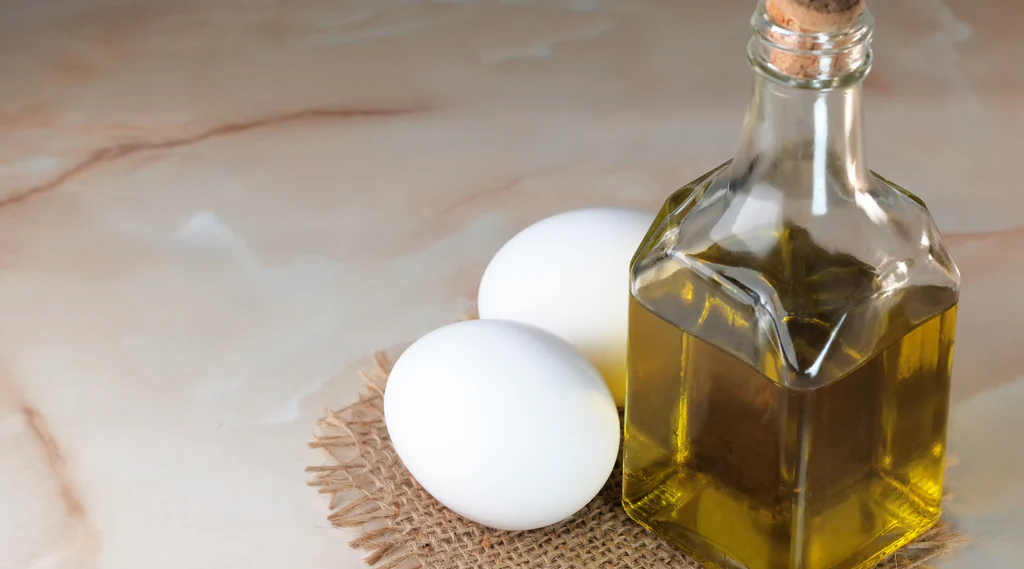
Hair, often heralded as a crowning glory, plays an integral role in one’s overall aesthetic. However, exposure to environmental pollutants, relentless styling, and occasional neglect can leave your tresses lackluster and fragile. Enter the humble yet transformative egg and olive oil mask—a timeless remedy celebrated for its restorative prowess. This exploration unravels the science, advantages, and application nuances of this powerhouse concoction.
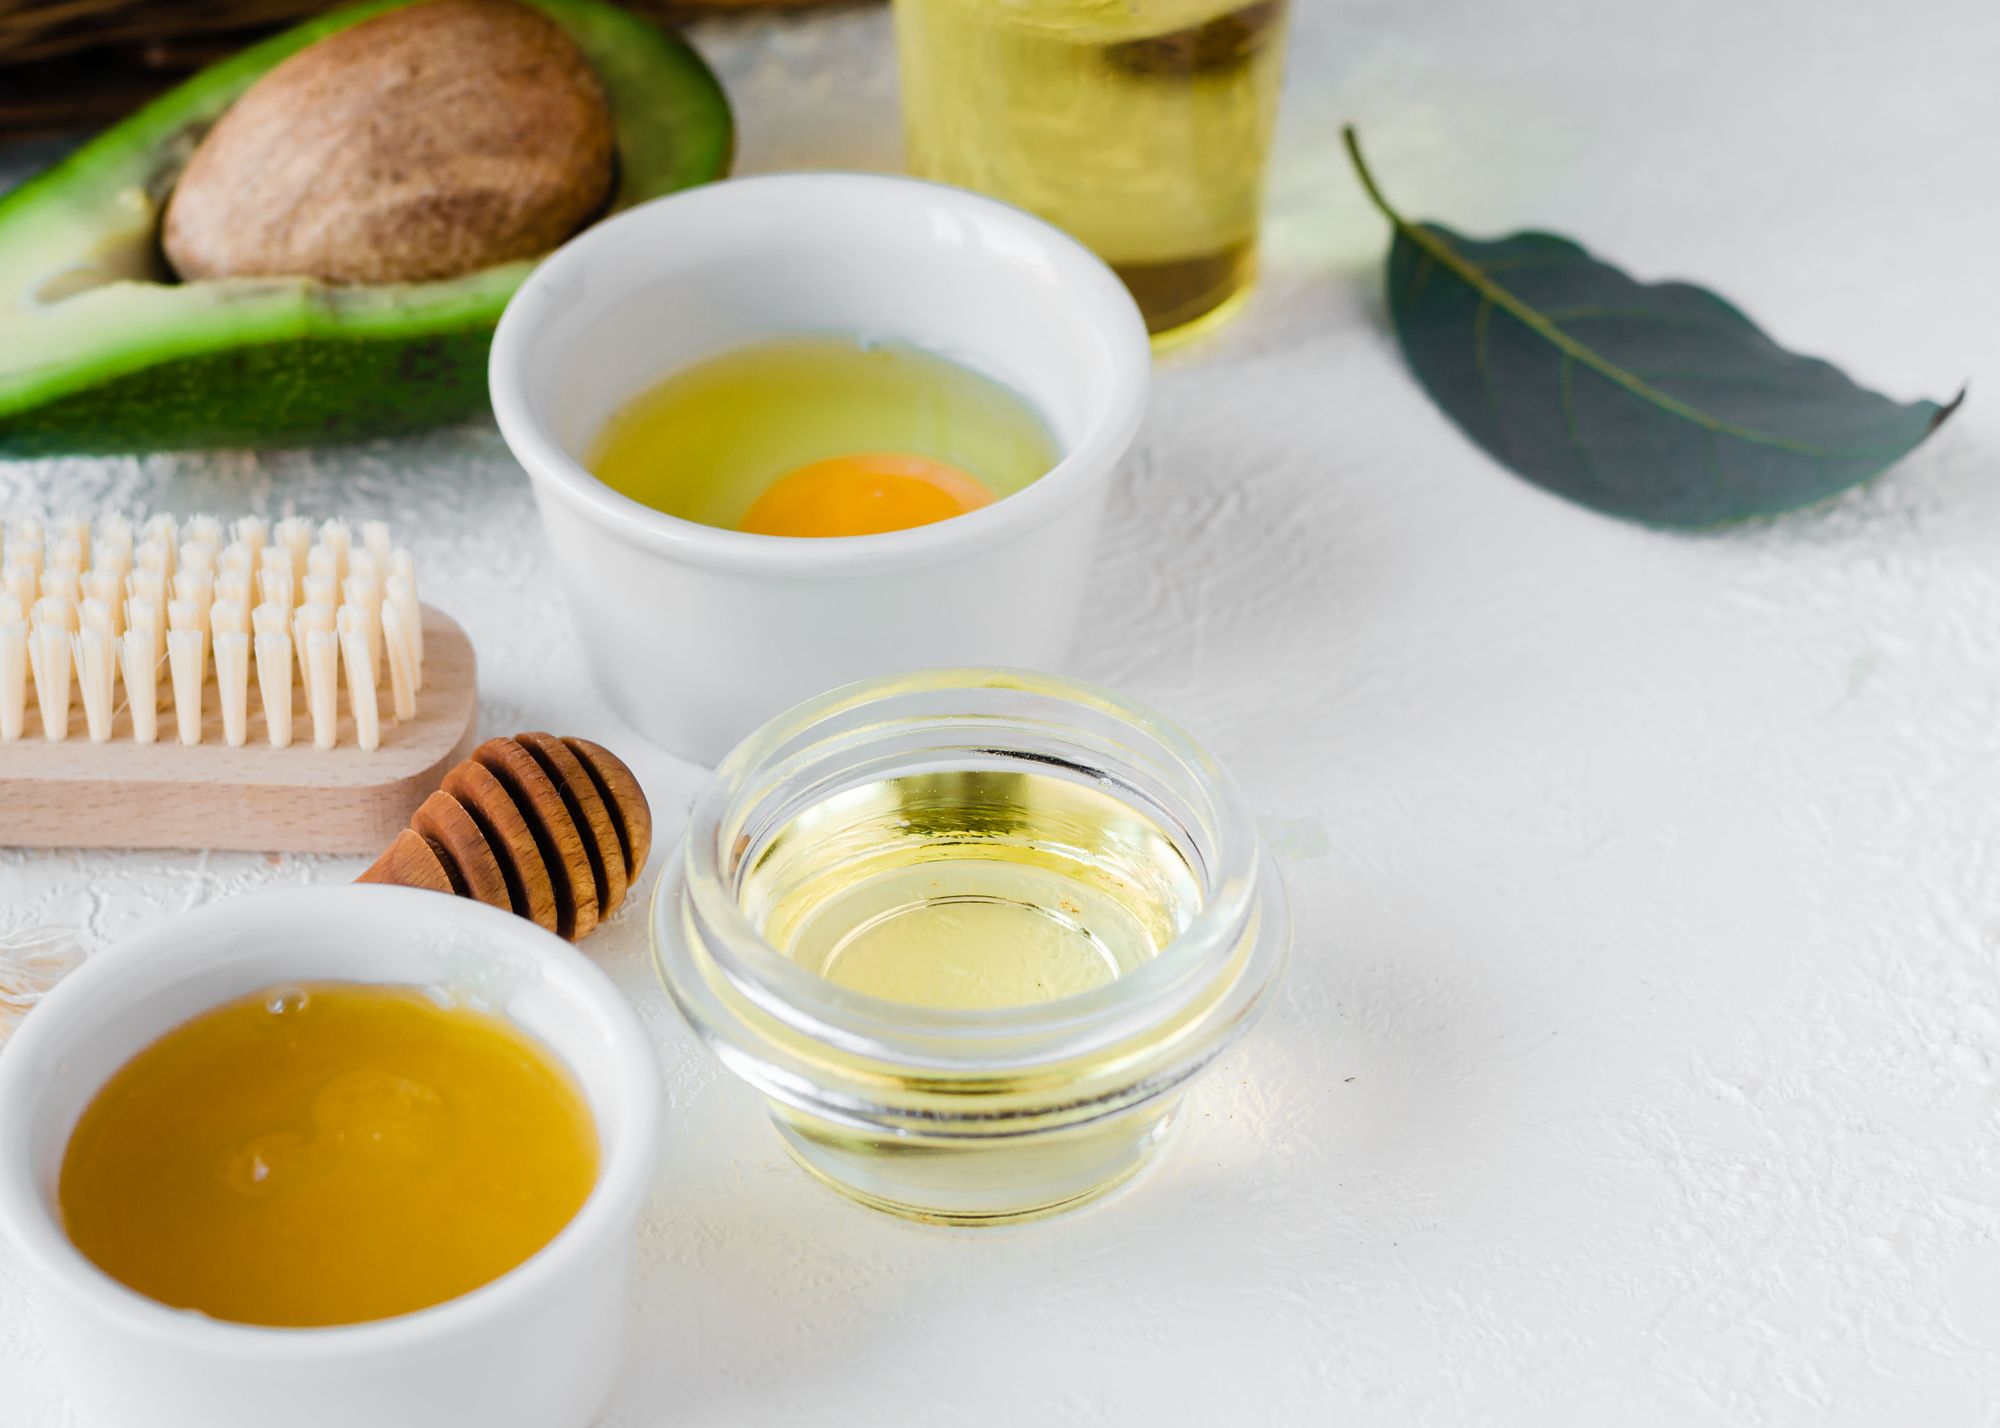
Unpacking the Magic of Eggs and Olive Oil
Both eggs and olive oil boast an arsenal of nutrients capable of breathing life back into distressed locks. Understanding their contributions highlights why this blend is a savior for hair health.
Eggs:
- Proteins and Amino Acids: As keratin forms the essence of hair, the protein in eggs replenishes this vital component, mending weakened strands.
- Biotin: Renowned for fostering growth, this vitamin fortifies and safeguards against brittleness.
- Sulfur: This mineral strengthens follicles while promoting scalp vitality.
- Lipid Hydration: Fats present in yolks infuse dry, unruly hair with deep nourishment.
Olive Oil:
- Hydration Powerhouse: A natural emollient, olive oil penetrates deeply, reviving parched hair and restoring luster.
- Antioxidant Enrichment: Vitamins and antioxidants shield against environmental aggressors.
- Scalp Soothing: Its anti-inflammatory properties address irritation and dandruff.
Together, these elements form a holistic solution, tackling issues from lack of moisture to split ends.
Transformative Benefits of This Mask
Incorporating this age-old remedy into your hair regimen offers a cascade of advantages:
- Nourishment Beyond Surface: Penetrates deeply, replenishing essential nutrients.
- Enhanced Resilience: Boosts elasticity, reducing breakage.
- Radiant Finish: Revives dull hair, imparting a healthy glow.
- Tamed Frizz: Hydration curtails unruly strands.
- Strengthened Strands: Proteins bolster hair shafts, minimizing split ends.
- Optimal Scalp Health: Alleviates dryness and irritation for a balanced scalp environment.
Crafting Your Egg and Olive Oil Elixir
Whipping up this nutrient-rich mask is a breeze with a handful of accessible ingredients:
Ingredients:
- 1–2 eggs (adjusted for hair length and density)
- 2–4 tablespoons of extra virgin olive oil
- Optional: A few drops of essential oil (e.g., lavender or rosemary) for fragrance

Instructions:
- Crack the eggs into a bowl. Utilize only the whites for oily hair or the whole egg for normal to dry hair.
- Whisk the eggs until smooth.
- Gradually incorporate olive oil, blending until consistency is seamless.
- Add essential oil for a touch of aroma.
Mastering the Application
A strategic approach ensures the mask delivers its full spectrum of benefits.
Preparation:
- Protect clothing with a towel or an old shirt.
- Detangle hair for even application.
Application:
- Divide hair into manageable sections.
- Distribute the mask from roots to tips, ensuring complete coverage.
Scalp Massage:
- Gently knead the scalp in circular motions for 5 minutes to enhance absorption and circulation.
Waiting Period:
- Cover hair with a shower cap to trap heat and moisture.
- Let the mask work for 20–30 minutes.
Rinse and Cleanse:
- Rinse thoroughly with cool water to avoid cooking the egg.
- Follow with a mild shampoo to eradicate any lingering scent.
Frequency of Use
- Dry/Damaged Hair: 1–2 times weekly
- Oily Hair: Biweekly application suffices
- Normal Hair: Weekly use maintains vitality
Amplifying Effectiveness
- Freshness First: Use fresh ingredients for optimal results.
- Moderation Matters: Avoid overuse to prevent protein buildup.
- Patch Test: Check for allergies before full application.
- Lifestyle Synergy: Pair with a balanced diet and gentle hair practices.
Customizable Add-Ins
Tailor the mask for targeted benefits:
- Honey: Boosts hydration and shine.
- Aloe Vera: Calms scalp and curtails dandruff.
- Coconut Oil: Amplifies moisture.
- Yogurt: Cleanses and revitalizes.
- Banana: Enriches with vitamins and minerals.
Tackling Common Concerns
- Odor Control: Rinse diligently and use a scented conditioner.
- Mess Management: Apply in a controlled area with protective gear.
- Residue Avoidance: Use cool water to rinse thoroughly.
Why Opt for DIY Remedies?
- Cost-Effective: Economical and efficient.
- Chemical-Free: Natural formulations sans harsh additives.
- Personalized Care: Customize to suit individual needs.
- Eco-Conscious: Minimal environmental impact.
Final Reflections
The egg and olive oil mask stands as a testament to nature’s restorative capabilities. With consistent use, this simple yet potent blend has the potential to transform brittle, lifeless hair into a cascade of vibrant, resilient locks. Why wait for expensive treatments when your kitchen harbors the secret to luscious hair?
Hair
Egg, Honey, and Olive Oil Hair Mask: Timeless Elixir for Radiant Tresses
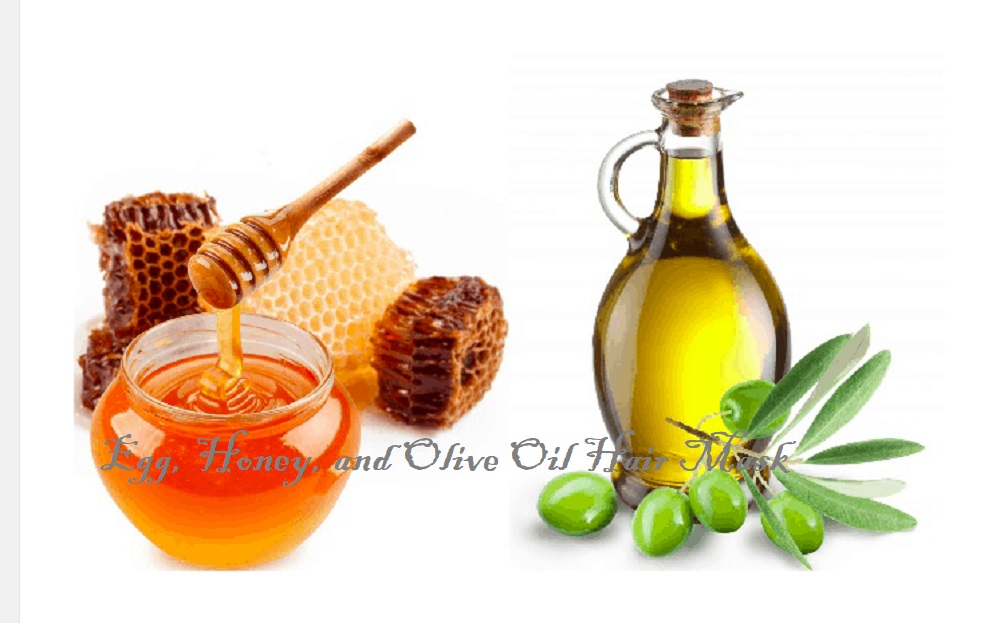
Nature has provided remedies that transcend eras for those pursuing luxuriant, gleaming, and resilient hair. Among these, the harmonious blend of egg, honey, and olive oil hair mask is an unparalleled elixir, revitalizing strands with nourishing potency. This venerable concoction teems with vitality-enhancing nutrients, a sanctuary for parched, frazzled, or listless locks yearning for renewal.
This guide unravels the alchemy behind this trifecta’s potency, the science anchoring its efficacy, and a comprehensive blueprint for crafting and applying this restorative mask. Immerse yourself in the allure of this natural marvel, a quintessential addition to your hair care arsenal.
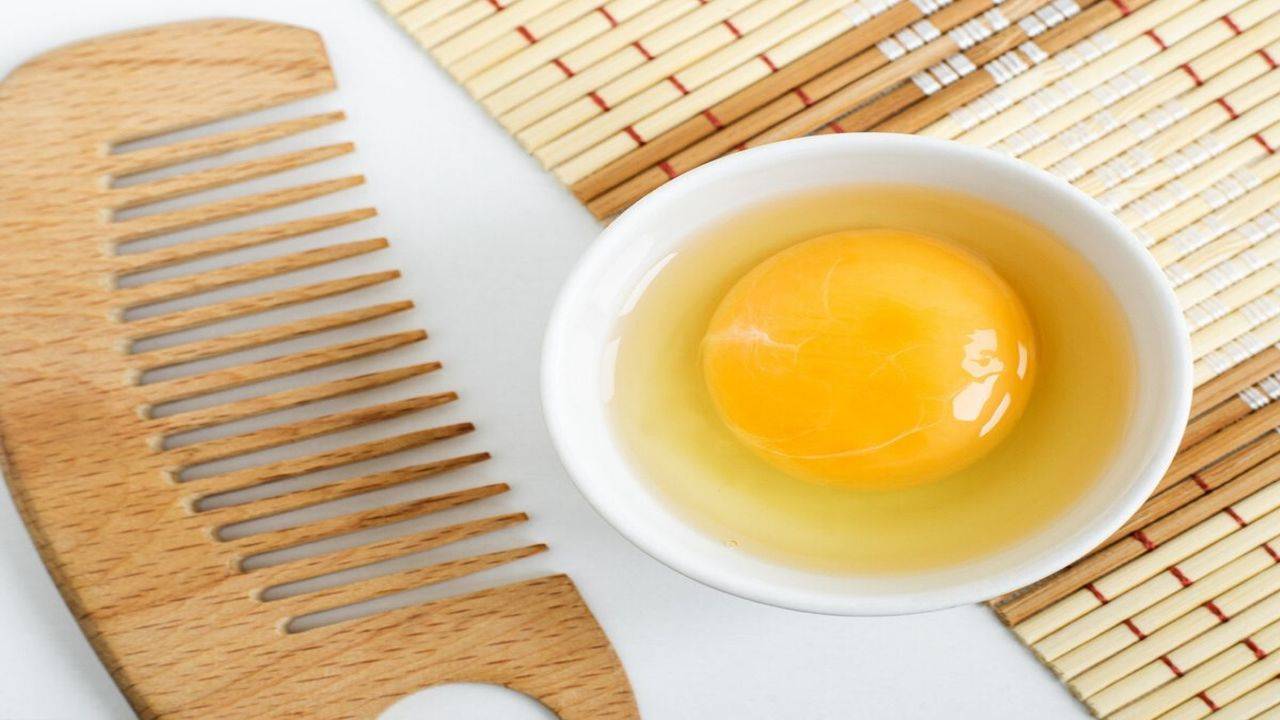
The Trifecta of Brilliance: Egg, Honey, and Olive Oil
Egg: The Quintessential Protein Reservoir
While eggs grace countless breakfast tables, their prowess extends beyond culinary confines. Brimming with premier-quality protein, essential vitamins, and minerals, eggs bolster hair health with transformative benefits:
- Protein Reparation: Hair, predominantly keratin-based, thrives on the reparative prowess of egg-derived proteins, counteracting damage from heat, styling, and environmental wear.
- Biotin Infusion: Enriched with biotin, a pivotal B vitamin, eggs fortify strands and deter brittleness.
- Hydration Lock: Lecithin within eggs fortifies moisture retention, imparting sleekness and luminosity.
Honey: Nature’s Hydrating Nectar
Renowned as a culinary delight, honey’s role as a humectant and antioxidant translates into transformative hair benefits:
- Intense Moisturization: Honey’s hygroscopic properties draw atmospheric moisture, saturating strands with hydration.
- Antioxidant Shield: Guarding against oxidative damage, honey fortifies hair’s resilience.
- Scalp Restoration: Honey’s antimicrobial virtues address scalp irritations, from dryness to flakiness.
Olive Oil: Liquid Ambrosia for Tresses
Dubbed “liquid gold,” olive oil’s storied legacy in beauty regimens persists, revered for myriad virtues:
- Nutrient Delivery: Penetrating the hair shaft, olive oil conveys essential fatty acids and vitamins.
- Frizz Tamer: By smoothing cuticles, olive oil mitigates frizz while amplifying sheen.
- Scalp Soothe: Anti-inflammatory properties alleviate irritation, fostering optimal follicular health.
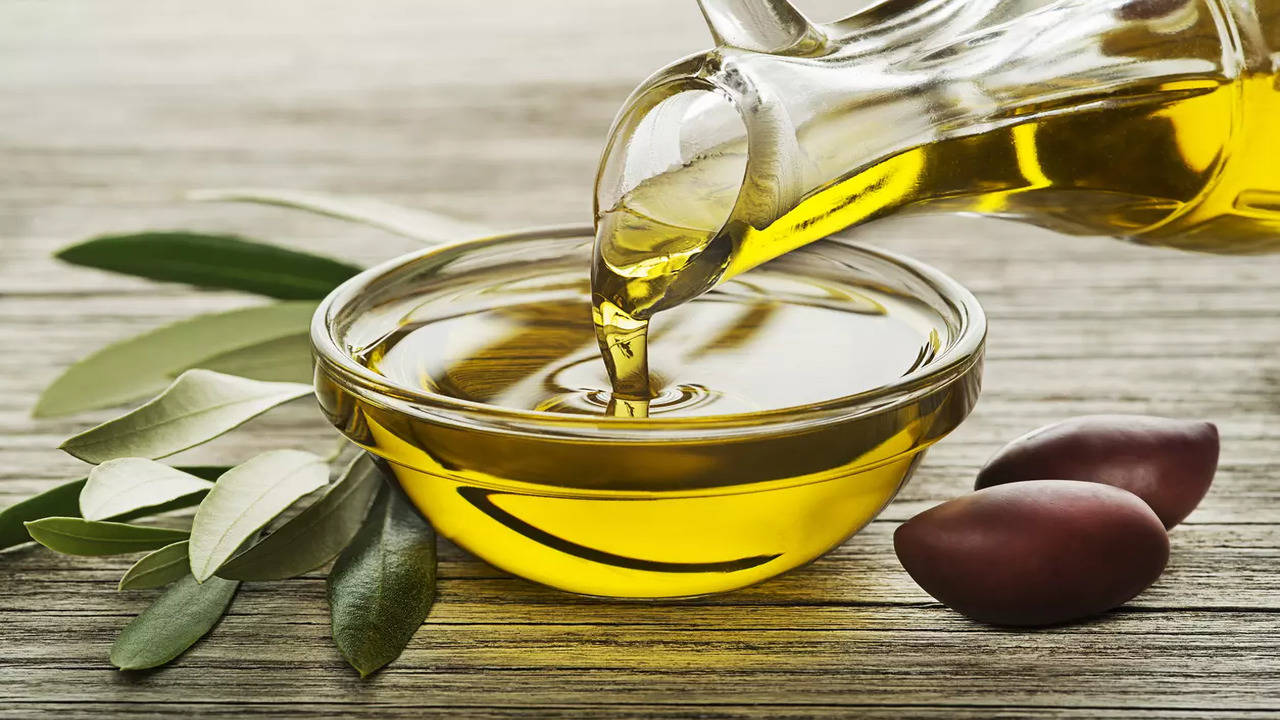
The Case for Natural Alternatives
Commercial hair products often bristle with abrasive chemicals that compromise hair’s integrity. Embracing a natural hair mask, such as the egg, honey, and olive oil medley, avails benefits untethered to synthetic additives:
- Purity Assured: Free of sulfates, parabens, and synthetic fragrances.
- Economic Excellence: Kitchen staples meet your beauty needs affordably.
- Tailored Care: Customizable formulations to cater to unique hair attributes.
Crafting the Egg, Honey, and Olive Oil Hair Mask
Ingredients:
- 1 whole egg (or 2 for lengthier hair)
- 2 tablespoons honey
- 2 tablespoons olive oil
Instructions:
- Blend the Mixture: Whisk the egg into a homogeneous consistency. Incorporate honey and olive oil, stirring until creamy.
- Application: Section hair for uniform coverage, applying the blend from roots to tips.
- Seal and Rest: Encase hair in a shower cap or plastic wrap, letting the mixture infuse for 20–30 minutes.
- Rinse and Cleanse: Rinse with lukewarm water (avoiding hot water to prevent egg coagulation). Follow with a gentle shampoo and conditioner.

Optimizing Results
- Usage Frequency: Employ weekly for optimal impact. Overuse may lead to protein saturation in low-porosity hair.
- Customization:
- For dryness, increase olive oil.
- For oiliness, favor egg whites and reduce olive oil.
- For finer hair, moderate honey to prevent heaviness.
- Enhancements: Add essential oils (e.g., lavender or rosemary) for aroma and stimulation or a dollop of yogurt for moisture augmentation.
The Scientific Nexus
This mask’s efficacy derives from the synergistic interaction of its components:
- Protein Repair: Egg’s hydrolyzed proteins fortify cuticles and invigorate strands.
- Hydration Equilibrium: Honey’s humectancy complements olive oil’s emollience for balanced hydration.
- Scalp Vitality: Olive oil’s antioxidants and vitamins invigorate scalp health.
Visible Rewards
Regular application unveils discernible improvements:
- Enhanced Gloss: Amplified natural sheen and vitality.
- Reinforced Hair: Reduced fragility and split ends.
- Silken Texture: Manageable, velvety strands.
- Scalp Harmony: Mitigated dryness, and reduced dandruff.
- Accelerated Growth: Healthier follicles encourage robust growth.
Common Queries Addressed
- Odor Concerns: Mitigate with essential oils or a diluted vinegar rinse.
- Hair Type Compatibility: Universally adaptable, with proportional adjustments.
- Colored Hair Safety: Perform a strand test to ensure no adverse effects.
Alternative Formulations
For variety, consider these renditions:
- Egg-Yogurt Blend: Heightened hydration and protein synergy.
- Honey-Coconut Oil Mask: Intensely moisturizing for arid tresses.
- Avocado-Olive Oil Mask: Enriched nourishment for thick, coarse strands.
Conclusion:
The egg, honey, and olive oil hair mask is a timeless, cost-efficient remedy that restores hair’s innate splendor. Whether combating dullness or damage, this natural concoction rejuvenates hair effortlessly, ensuring luminous, healthful locks.
Closing Thoughts
Elevate your hair care routine by incorporating this holistic, nutrient-rich mask. Experience a transformative journey to gleaming, resilient tresses—all from the sanctuary of your home. Let your hair radiate unparalleled beauty!
Hair
How to Curl Your Hair with a Flat Iron for Beginners
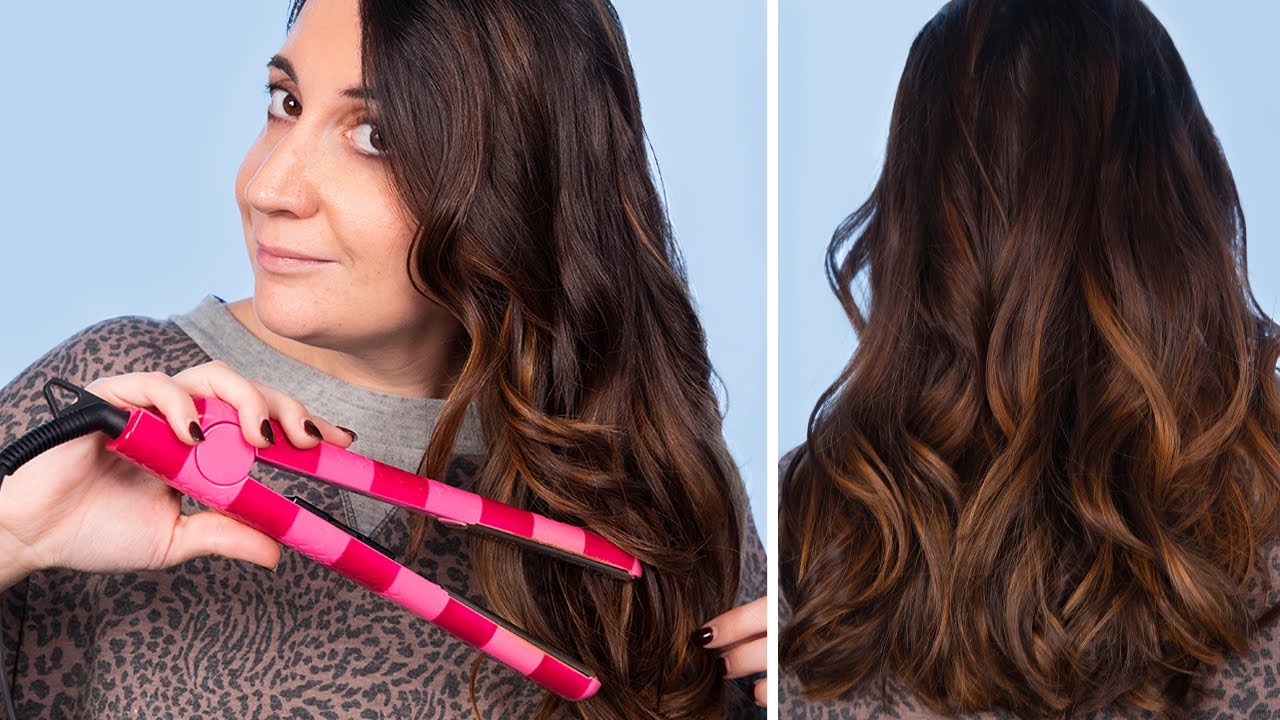
How to curl the hair with flat iron: Ok, so you’ve decided to purchase a flat iron. You’ve taken it out of it’s pretty packaging, plugged it in and turned it on. Now what? You have different choices in how to use a hair straightener depending on the desired look you are going for.
Are you simply wanting to straighten and smooth, or do you want to add a little twist and shine to your hair without having to use both a curling iron and hair straightener? Below we will walk you through how to curl your hair with a flat iron step by step.
Step 1: Heat Protectant Spray – Optional but Optimal
Although heat protectant spray is optional, it’s purpose is to help protect against heat damage from hot hair tools. If you are going to be using a hair straightener often, this may be a step you do not want to skip. We recommend using a spray such as John Frieda Frizz Ease Heat Defeat or Chi 44 Iron Guard for styling protection from the inside out.
Make sure hair is dry to begin. Divide hair into small sections and spray the protectant over one section at a time. You do not want to make hair wet, but slightly damp. Comb through and wait a few minutes for hair to dry. Read the specific label on the product for more detailed instructions.
Step 2: Part Hair Into Sections
Once again you will be parting your hair into sections. Tie your hair up into a bun at the top of your head or pin it up to keep it out of the way, leaving the very bottom section down (approximately 1 inch sections). You will be working in layers from the neck up. The smaller the layers, the curlier it will be.
Step 3: Flat Iron Curling Techniques
Standard Curls:
How to curl the hair with flat iron: Have you ever curled a ribbon on a gift? Curling your hair with a straightener is a similar technique. Taking 1 strand at a time, clamp the flat iron down on the top part of the section and wrap the hair around once. (Careful not to get too close to the scalp and burn yourself!) Holding the end strands of the section with one hand, glide the flat iron down the strand with the other until you reach the bottom of the section. Use this curling technique along the rest of the layer. Then unpin another section of hair down and work your way up until all of the layers are complete and curled.
How to Create Bouncy Curls with a Flat Iron:
Repeat the above curling technique but make bigger layers and larger sections for big bouncy curls. Also start further away from the scalp and glide the iron down the strands quicker than you would for tighter curls.
SLOW = TIGHTER CURLS QUICK = LOOSER CURLS
Beach Waves with Flat Iron:
Beach waves are a great look, especially if you have long hair to work with. Divide your hair into 4 vertical sections. Take 2 of the sections from 1 side and twist them like a rope separately. Then twist the 2 cords together the same way. Clamp the iron down at the top of the cord (Again, not too close to the scalp!) and work your way down the cord, a few seconds at a time. Allow to cool completely and then unravel the corded hair. Repeat on the other side.
Step 4: Finishing Touches
Once fully curled, simply leave your hair as is or you can run your fingers or a pick through it. If desired you can spray the finished style with a flexible hair spray like Kerastase Laque Dentelle that was seen in the beach waves video. You can also use a wax or pomade like AG Hair Texture Paste to give the hair a smooth, matte look and better keep it in place.
Hair Straightening Tips
- Hair near the hairline is thinner than other areas of the head, so keep in mind that not as much time is needed with the flat iron in that area to get the same result as the thicker areas.
- If may help to spray a section of stubborn hair that does not want to curl with hair spray right before running the flat iron over it.
- Gripping the flat iron on the hair too tightly can cause kinks rather than curls.
- Heat the hair straightener up to the desired temperature ahead of time.
Conclusion
From loose curls to tight curls to flat iron beach waves, there are many different techniques used for curling your hair with a flat iron. Don’t be afraid to play around and discover your own technique or what works best for your hair. Remember it’s best to start with dry hair that has been combed through and optional to spray hair to protect from the heat damage that can occur with repeated use of hot tools. It will get easier the more you practice! I hope you enjoyed this tutorial on how to curl your hair with a flat iron.
-
 Skin10 months ago
Natural Oil-Free Face Moisturizer Reviews & Buyers Guide
-
 Skin9 months ago
About Face Beauty: Tips for Enhancing Your Natural Beauty
-
 Hair2 months ago
Does a Flat Iron Kill Lice? Fact or Myth?
-
 Hair10 months ago
Does a Flat Iron Kill Lice? Fact or Myth?
-
 Skin6 days ago
Neutrogena Naturals Multi-Vitamin Nourishing Face Moisturizer Review
-
 Hair7 days ago
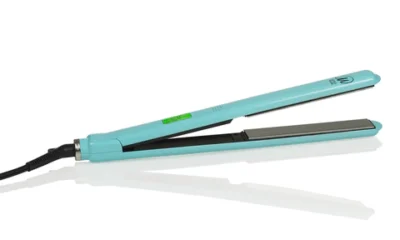
Titanium Flat Iron vs Ceramic
-
 Hair10 months ago
Function of Beauty: Personalized Hair Care for Your Unique Needs
-
 Skin9 months ago
Beautiful Nails: Tips and Tricks for Healthy and Gorgeous Nails
