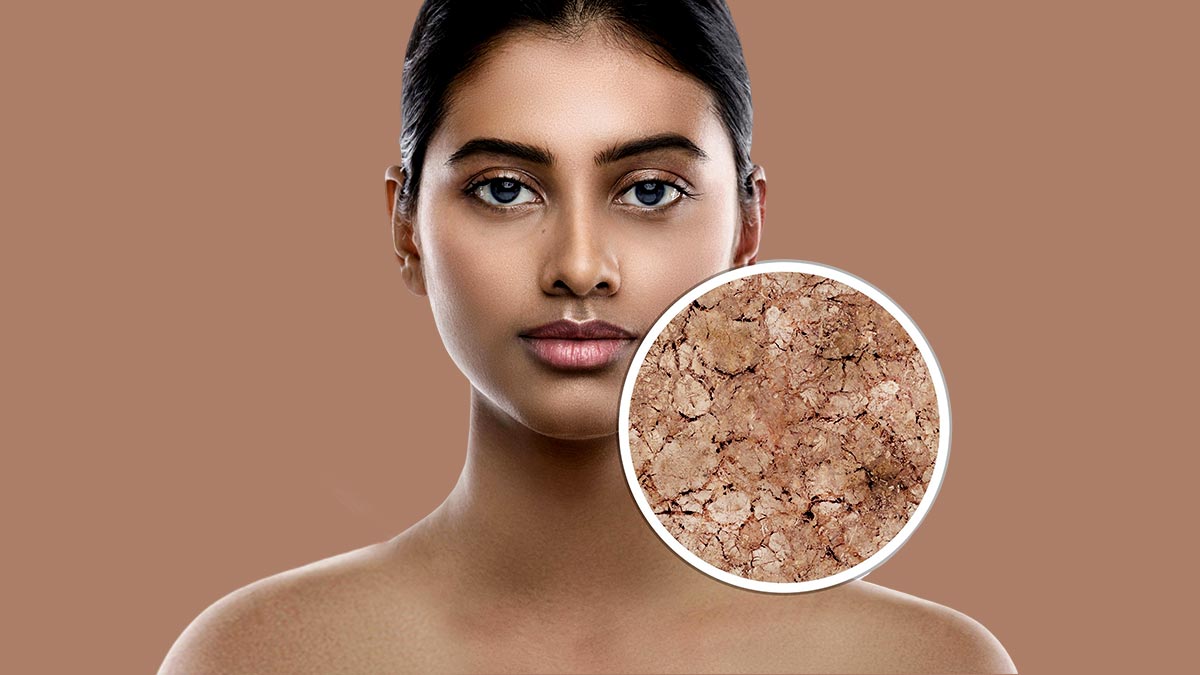
Makeup
Unlock the Power of Pigment Makeup: A Bold Beauty Revolution
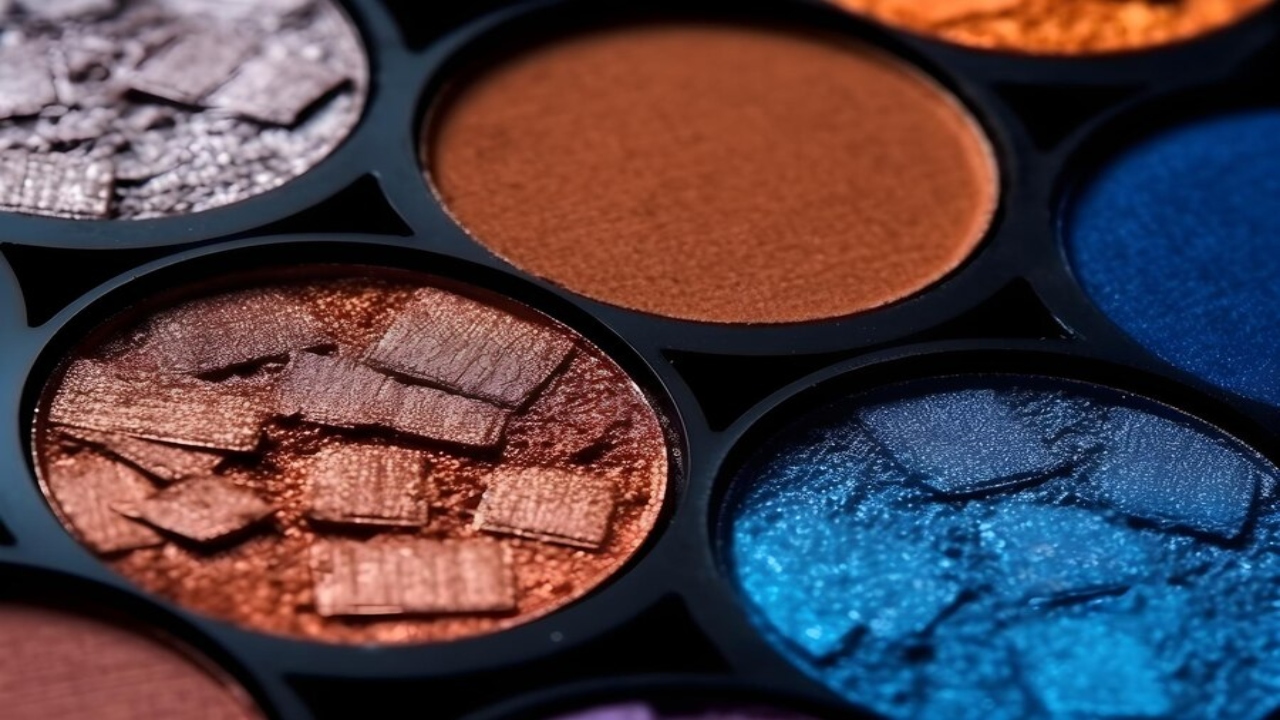
Makeup
5 Stunning 2024 Party Makeup Looks to Recreate for the Holidays, From Our Esthetician
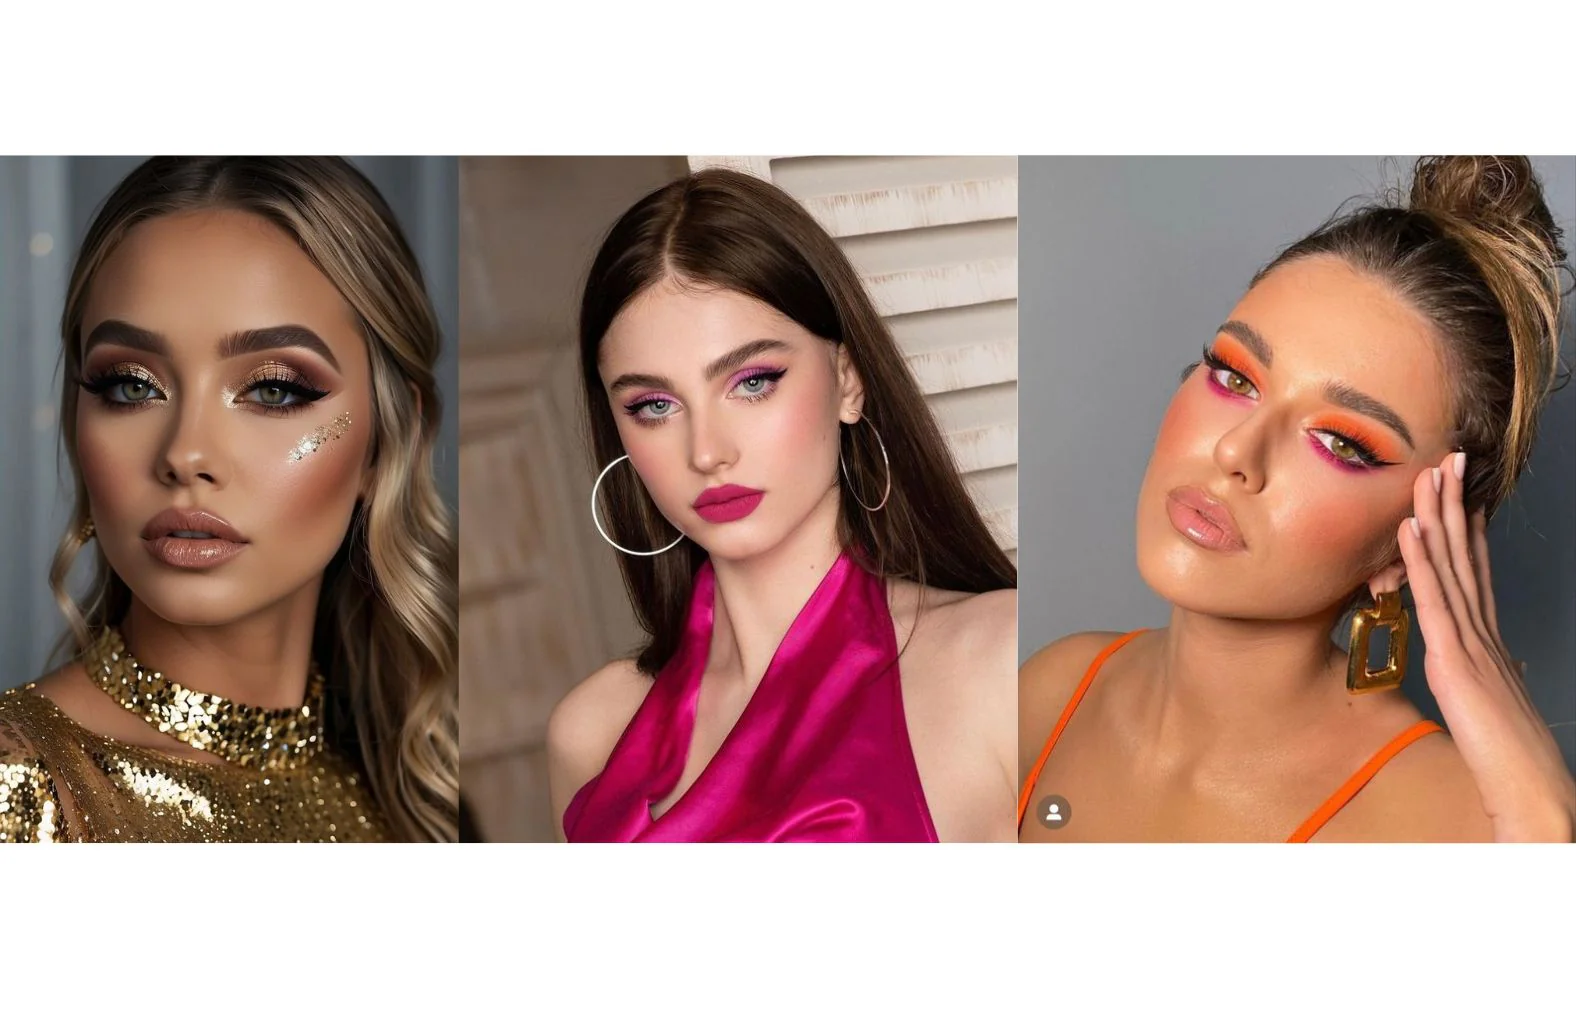
The festive season beckons with its cascade of scintillating ensembles, convivial gatherings, and, naturally, show-stopping makeup artistry. Whether you’re gracing an intimate dinner or reveling at an opulent New Year’s Eve gala, your makeup can transform your look into one of sheer enchantment. This year, embrace five exquisite party makeup styles for 2024, meticulously crafted by our beauty connoisseur to ensure you captivate at every holiday event.
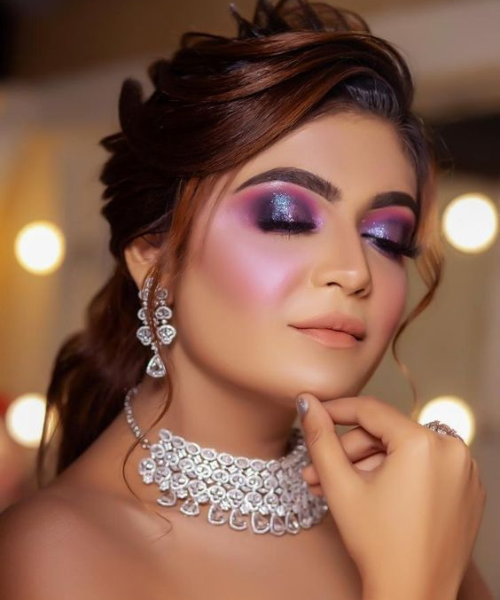
Look 1: Timeless Red Lips Paired with Precision Winged Liner
Crafting the Quintessential Crimson Pout
A vibrant red lip remains a perennial classic. Begin by exfoliating your lips to ensure a flawless base. Outline your lips with a matching liner for definition, then apply a velvety, long-wear matte red lipstick for ultimate impact.
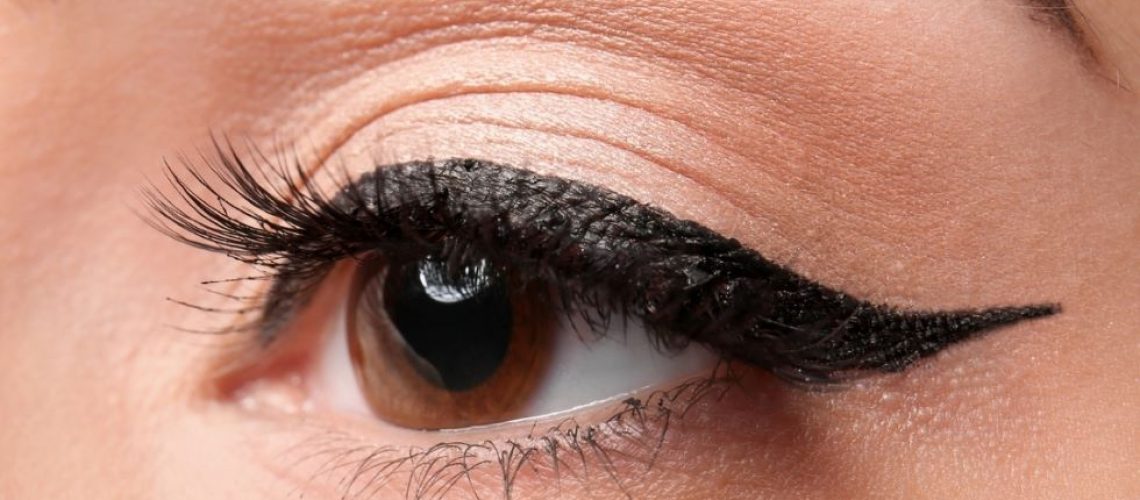
Mastering the Art of Winged Eyeliner
Perfecting winged eyeliner requires patience and skill. Opt for a gel or liquid formula with an ultra-fine tip. Begin with a delicate line at the inner corner, gradually thickening as you extend outward to achieve a polished flick.
Hairstyling to Complement the Look
This sophisticated pairing shines alongside soft, cascading curls or a sleekly polished ponytail for a touch of enduring elegance.
Look 2: Mesmerizing Smokey Eyes Accentuated by Subtle Nude Lips
Essential Tools for Smokey Brilliance
Select an eyeshadow palette featuring rich browns, golds, and gleaming shimmers. A reliable blending brush is indispensable for achieving a seamless gradient effect.
Steps to Achieve a Smokey Masterpiece
- Prime your eyelids for longevity.
- Sweep a transition shade into the crease.
- Blend deeper hues into the outer corner for depth.
- Highlight the center of your lids with shimmer.
- Complete the look with eyeliner and volumizing mascara.
Choosing the Perfect Nude Lip
Select a hue that harmonizes with your complexion—beige for fair tones, peach for medium shades, and caramel for deeper skin tones.
Look 3: Ethereal Glow Enhanced with Soft Pastel Accents
Crafting a Radiant Canvas
Hydration forms the foundation of luminous skin. Employ a radiant primer, followed by a dewy foundation. Elevate your glow with a liquid highlighter placed strategically on your cheekbones.
The Allure of Pastel Shadows
Delicate hues such as lavender, mint green, and blush pink evoke an ethereal aesthetic. Blend meticulously to achieve a soft, airy finish.
Matching Lip Colors for a Pastel Palette
Opt for lip tints in gentle pink or coral to maintain the softness of this romantic look.
Look 4: Striking Metallic Eyes Accompanied by Glossy Lips
Trending Metallic Shades of 2024
This season celebrates radiant metallics—think gilded gold, gleaming silver, and opulent jewel tones. Enhance the vibrancy of your shadows by using a dampened brush.
Ensuring Long-Lasting Metallic Brilliance
Prime your eyelids and spritz your brush with setting spray before application. This technique locks in intensity and ensures your metallic shades remain vivid through the night.
Balancing with Glossy Lips
Pair your dazzling eyes with a clear or delicately tinted lip gloss for a modern and harmonious finish.
Look 5: Glitter Extravaganza with Bold Statement Lashes
Using Glitter Safely and Effectively
Opt for cosmetic-grade glitter and a specialized adhesive to ensure safety and comfort.
Selecting the Ideal False Lashes
Dramatic, fluttery lashes add dimension to your eyes. Magnetic lash styles are an excellent choice for novices.
Balancing Glitter with Simplicity
Allow your glittering eyes to command attention by keeping the rest of your makeup understated and minimal.
Key Makeup Must-Haves for 2024 Festivities
- A multi-functional eyeshadow palette
- Long-wear foundation
- Waterproof mascara
- High-quality application brushes
Skincare Preparation for Flawless Party Makeup
- Exfoliate gently the evening before.
- Hydrate with a nourishing sheet mask.
- Never skip sunscreen, even during colder months.
Common Makeup Mishaps to Sidestep
Avoid overloading your foundation or neglecting blending techniques. Use setting powders sparingly to prevent a cakey appearance.
Makeup Adaptations for Various Skin Types
For Oily Skin
Utilize a mattifying primer and powder-based products to control shine.
For Dry Skin
Prioritize hydration and lean towards cream-based formulations for a seamless, natural finish.
Expert Recommendations
Our beauty specialist advocates for investing in a top-tier primer and setting spray to ensure longevity. Always patch-test new products before significant events.
Final Thoughts
The holiday season invites experimentation and boldness in makeup. With these five captivating 2024 party looks, you’ll exude confidence and charm at every celebration. Prep diligently, select quality products, and unleash your creativity. Happy holidays and radiant revelry.
COMMENT: saji.spet@gmail.com
Makeup
Makeup Blindness + Tips

In the ever-evolving world of beauty, makeup plays a pivotal role in enhancing features and boosting confidence. However, a phenomenon termed “makeup blindness” is gaining attention. This term refers to the inability to appreciate one’s natural beauty due to an over-reliance on makeup. Could this be affecting you? Read on to explore what makeup blindness means, its implications, and practical tips to combat it.
What Is Makeup Blindness?
Makeup blindness is not a medical condition but a psychological and social phenomenon. It occurs when individuals feel unrecognizable or unattractive without makeup. This dependence often stems from societal pressures, media influences, and personal insecurities.

Key Symptoms of Makeup Blindness
Feeling incomplete or unconfident without makeup.
Over-reliance on beauty products for daily interactions.
A distorted perception of natural beauty.
Why Does Makeup Blindness Happen?
The Role of Media and Advertising
Social media and advertising perpetuate unattainable beauty standards. Filters and heavily edited images can lead to unrealistic expectations, making people overly critical of their natural appearance.
Psychological Factors
- Low self-esteem: Makeup is often used as a shield to hide perceived flaws.
- Comparison culture: Constantly comparing oneself to others increases insecurity.
Tips to Overcome Makeup Blindness
Embrace Your Natural Beauty
Skincare is key: Focus on maintaining healthy skin with a proper routine.
Detox from makeup: Take makeup-free days to build confidence in your natural appearance.
Practical Steps to Reduce Dependence
- Set limits: Restrict makeup use to special occasions.
- Simplify your routine: Opt for minimal makeup looks that highlight your natural features.
- Seek support: Join communities promoting body positivity and natural beauty.
Psychological Interventions
- Practice affirmations to build self-esteem.
- Seek professional counseling if insecurities persist.
Building a Healthy Relationship with Makeup
When used thoughtfully, makeup can boost confidence and allow for creative self-expression. However, it’s essential to distinguish between using makeup as a tool and becoming dependent on it. Developing a balanced approach involves setting boundaries, maintaining a healthy perspective, and prioritizing self-care.
Encourage Self-Love Practices
Self-love is a powerful remedy for makeup blindness. Engage in daily practices that celebrate your individuality:
- Journaling: Write affirmations about your natural beauty.
- Mindfulness: Practice mindfulness or meditation to strengthen self-acceptance.
- Celebrate imperfections: Understand that flaws are what make you unique and human.
Skin Care as a Confidence Booster

Investing in your skin is one of the best ways to feel good about yourself without makeup. Incorporate these habits into your daily routine:
Cleansing: Remove impurities and ensure your skin breathes.
Hydration: Use moisturizers and drink plenty of water.
Protection: Apply sunscreen to prevent premature aging and sun damage.
Nutrition: Eat a balanced diet to nourish your skin from within.
Learn to Appreciate Makeup as an Art Form
Instead of viewing makeup as a crutch, treat it as an artistic medium. Explore different techniques and products to enhance—not mask—your features. By shifting the focus from concealing flaws to celebrating your uniqueness, you can rediscover joy in makeup.
Conclusion
Makeup is an art form and a tool to express oneself, but it should never replace the appreciation of natural beauty. Understanding the concept of makeup blindness and taking steps to overcome it can empower individuals to feel confident in their skin. Balance is key—embrace your natural self while enjoying makeup as an enhancement, not a necessity.
FAQs
What are the signs of makeup blindness?
Signs include feeling unattractive without makeup, spending excessive time applying makeup daily, and avoiding social interactions without it.
Can makeup blindness be treated?
Yes. Through self-awareness, reducing reliance on makeup, and focusing on self-care, individuals can overcome this issue. Professional help can also be beneficial.
Does makeup cause harm to natural beauty?
Makeup doesn’t harm your natural beauty, but overuse without proper skin care can lead to issues like clogged pores, acne, and dull skin.
Makeup
What Can I Do to Improve Smokey Eye Look and Lip Makeup?
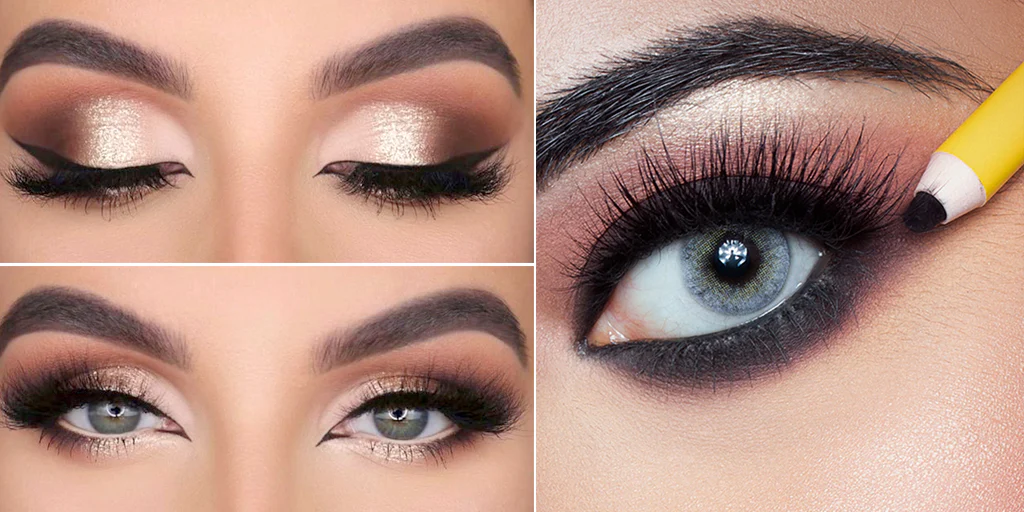
The smokey eye is a timeless makeup trend that exudes sophistication and allure. Paired with well-done lip makeup, it creates a powerful and striking appearance. However, mastering these techniques requires more than just a few strokes of a brush. Whether you’re a makeup novice or looking to refine your skills, this guide will help you perfect your smokey eye look and enhance your lip makeup.
Preparing Your Canvas: The Foundation for Stunning Makeup

Before diving into eyeshadows and lipsticks, it’s essential to prepare your skin. A smooth and even base will ensure your smokey eyes and lips stand out beautifully. Start by cleansing your face to remove any dirt or oil. Follow up with a moisturizer suited to your skin type to ensure your makeup goes on smoothly and stays in place.
Next, apply a primer to your eyelids and lips. Eye primer prevents eyeshadows from creasing and ensures colors appear vibrant, while a lip primer or balm keeps lips hydrated and ready for lipstick application. For your face, use a foundation that matches your skin tone, blending it seamlessly into your skin. Use a concealer to cover blemishes or dark circles, creating a flawless canvas for your smokey eye.
Lastly, set your base makeup with a translucent powder. This helps minimize shine and keeps your makeup intact throughout the day. With a well-prepared face, you’re ready to dive into the artistry of smokey eyes and lip makeup.
Perfecting the Smokey Eye: Tips for an Alluring Gaze
Creating a smokey eye requires the right tools, products, and techniques. Start with choosing a color palette that complements your skin tone and the occasion. While classic black and gray tones are popular, you can experiment with browns, purples, or greens for a modern twist.
Begin by applying a light, neutral shade across your entire eyelid as a base. This makes blending easier and enhances the intensity of the darker colors. Use a darker shade on the outer corners of your eyes, blending it inward to create a gradient effect. A soft blending brush is crucial for achieving a seamless transition between colors.
Don’t forget to define your eyes with eyeliner and mascara. Line your upper and lower lash lines with a pencil or gel liner, smudging it slightly for a softer effect. Curl your lashes and apply two coats of mascara to add drama to your look. If desired, finish with false lashes for added glamour. Practice makes perfect, so take your time to master these techniques.
Enhancing Lip Makeup: Achieving a Balanced Look

When your eyes are the focal point, your lips should complement rather than compete. Start by exfoliating your lips to remove any dry or flaky skin. Use a gentle lip scrub or a damp toothbrush for this step. Follow up with a hydrating balm to ensure your lips stay smooth and supple.
Choose a lip color that balances your smokey eyes. Nude or soft pink shades are classic choices that let your eyes take center stage. For a more daring look, opt for a bold lip color like red or plum, but keep the rest of your makeup understated. Use a lip liner to outline your lips, preventing your lipstick from feathering and ensuring a defined shape.
Apply lipstick with a brush for precision, starting at the center of your lips and blending outward. For a long-lasting finish, blot your lips with a tissue and apply a second layer of lipstick. If you prefer a glossy finish, add a touch of lip gloss to the center of your lips for a plump, luscious effect. The key is to maintain harmony between your eye and lip makeup.
Suggestions for Further Study on Makeup Techniques
- How to Choose the Right Brushes for Makeup Application
- Tips for Creating a Flawless Base Makeup Look
- Step-by-Step Guide to Contouring and Highlighting
- How to Maintain Long-Lasting Makeup Throughout the Day
- Seasonal Makeup Trends and How to Adapt Them
Related Topics to Explore
- The Best Eyeshadow Palettes for Every Skin Tone
- Lipstick vs. Lip Stain: Pros and Cons
- Eyeliner Techniques for Different Eye Shapes
- The Art of Matching Lip Colors with Outfits
- Common Makeup Mistakes and How to Avoid Them
Conclusion
Mastering the smokey eye look and enhancing your lip makeup can elevate your overall appearance, giving you confidence for any occasion. Preparation, product selection, and technique are key to achieving a polished look. Remember to balance bold eyes with complementary lips and practice regularly to refine your skills. Makeup is a form of self-expression, so don’t be afraid to experiment and find what works best for you. With these tips, you’ll be ready to create a stunning smokey eye and lip combination that turns heads wherever you go.
FAQs
Q1: Can I wear bold lips with a smokey-eye look?
A1: Yes, but it’s all about balance. If you choose bold lips with a smokey eye, keep the rest of your makeup understated. Opt for clean skin, minimal blush, and well-blended eyeshadow to avoid an overpowering look.
Q2: What should I do if my eyeshadow creases during the day?
A2: Using a quality eye primer before applying your eyeshadow can help prevent creasing. Setting your eyeshadow with a translucent powder or a setting spray also ensures it stays in place longer.
Q3: How do I choose the right lipstick shade for my skin tone?
A3: Fair skin tones pair well with soft pinks and corals, while medium skin tones suit berry or rose shades. Deep skin tones look stunning with bold colors like plums, reds, or deep nudes. Always test shades under natural light for the best match.
Q4: Can I use the same brushes for eyes and lips?
A4: No, it’s best to use separate brushes for hygiene and precision. Eyeshadow brushes are designed for blending powders, while lip brushes are crafted for precise application of creams or liquids.
Q5: How can I make my lipstick last longer?
A5: Exfoliate and hydrate your lips before applying lipstick. Use a lip liner to fill in your lips and apply the lipstick in layers, blotting between applications. A final touch of translucent powder over a tissue can help set the color.
Q6: What’s a quick fix if my smokey eye looks too dark or uneven?
A6: Use a clean blending brush to soften harsh lines and a cotton swab dipped in micellar water to clean up excess product. Adding a light shimmer to the inner corners of your eyes can also brighten the look.
Q7: Are smokey eyes suitable for daytime looks?
A7: Absolutely! For daytime, opt for lighter shades like taupes or browns for a softer smokey effect. Reserve darker tones for evening or special occasions.
-

 Skin10 months ago
Natural Oil-Free Face Moisturizer Reviews & Buyers Guide
-
 Hair2 months ago
Does a Flat Iron Kill Lice? Fact or Myth?
-
 Hair10 months ago
Does a Flat Iron Kill Lice? Fact or Myth?
-

 Skin9 months ago
About Face Beauty: Tips for Enhancing Your Natural Beauty
-

 Skin10 months ago
Neutrogena Naturals Multi-Vitamin Nourishing Face Moisturizer Review
-

 Hair10 months ago
Function of Beauty: Personalized Hair Care for Your Unique Needs
-
 Skin9 months ago
Beautiful Nails: Tips and Tricks for Healthy and Gorgeous Nails
-

 Hair10 months ago
Titanium Flat Iron vs. Ceramic


